
12 Aug 2024
Vanilla Installer: Whats different in Orchid?
Prequel
If you didn't already know, Vanilla OS ships with its own in-house developed installer, the Vanilla Installer. The installer in the beginning started as replacement for Calamares in Vanilla OS 22.10 and with the aim to be as simple as possible. In the early days, the installer's UI/UX took inspiration from the other popular installers such as Ubuntu's Ubiquity, Calamares, Crystal Linux's Jade, Elementary's Installer and combined the best features of all these installers using Vanilla's First Setup project as starting point. The installer was written in Python using LibAwdaita and used System76's distinst as backend to perform the installation.
Fast Forward to several weeks after Vanilla OS 22.10's release, the plans for the next Vanilla OS release were very ambitious and the installer was one of the key components that needed to be re-factored to fit into the bigger picture. For the next release, the main aim was to take the input from all the issues and feedback shared by the users and community and align it with the following goals:
- Simplicity: The installer should present the actions in simple linear steps.
- Indepentent: The installer should be independent of the desktop environment's session.
- OCI based: The installer should leverage the benefits of OCI(Open Container Initiative).
- OEM Ready: The installer should be easier for OEMs perspective.
- Recovery: The installer should provide recovery options.
TLDR; The installer needed to be just as good as Spider-Man 2 (2004) 😎
Drawing Board
In the early development of Orchid release, it was made clear that we can't shoe-horn our proposed goals into the capabilities of distinst, So it made sense to have our own backend to suit our own goals and for which @matbme took the initiative and started putting his efforts into albius: orignal designed to perform installation via OCI images but can also be used for traditional SquashFS based installation. The backend was written from ground up in Go and uses a recipe system that was already kinda being used by the installer.
While the backend was being written, the UI/UX was revisited with the feedback gained from the community. I thought it would be better to have discusisons with the team for this and commited the resultant proposed changes in the form of this mockup and started taking a dig at implementing few of the pages. 🚧
Building Blocks
From the preliminary mockup, the installer's tasks was divided into 9 visible screens:
| Screen | Pull Request |
|---|---|
| Welcome | #246, #288 |
| Language | #248, #287 |
| Keyboard | #264, #321, #360 |
| Network | 4ca344b |
| Timezone | #258, #286, #333 |
| Encryption | aba335b |
| Moved to First Setup for OEM aspect | |
| Disks | Yet to implement |
| Summary | Yet to mockup |
| Progress | Yet to mockup |
Lemme break down the changes in each of the screens in detail:
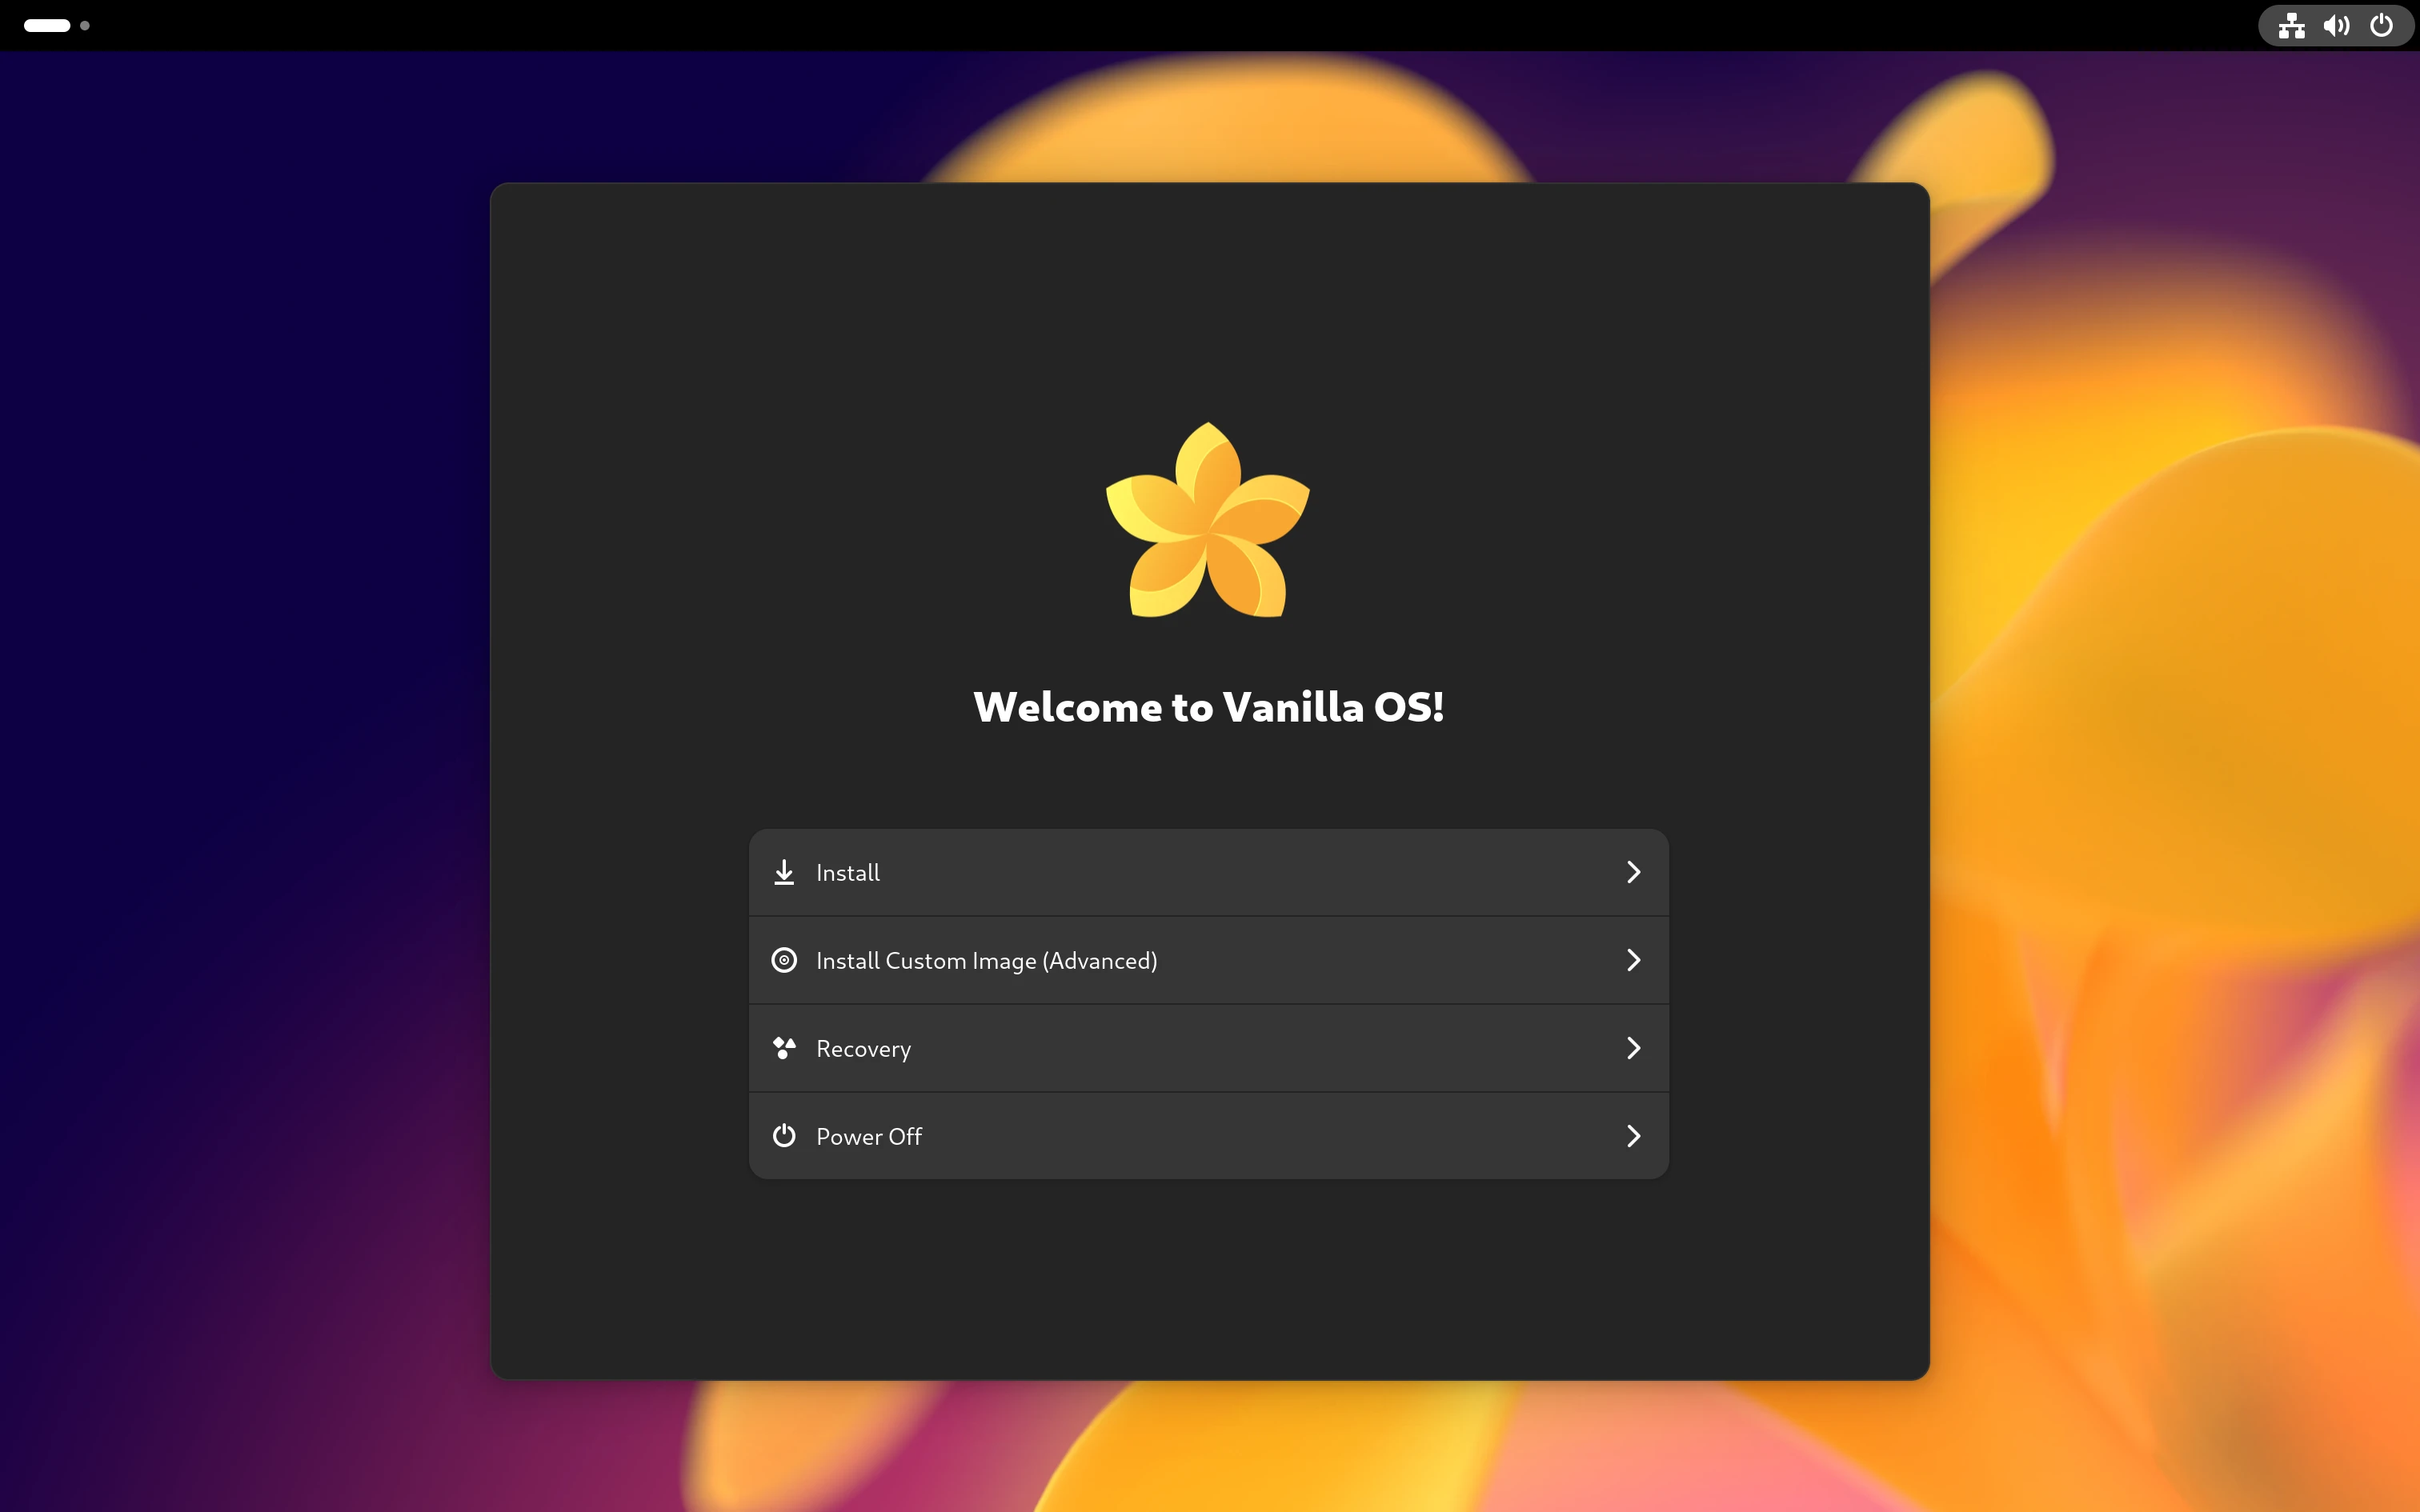
Welcome
The welcome screen previously only presented two choices:
- Try Vanilla
- Install Vanilla
Now, in the current iteration: the installer now displays distro-logo and distro-name from recipe and introduces the below choices:
Try: Removed as the installer session is used.- Install: The main action to start the installation.
- Install (Custom Image): The action to install using a custom image. (thanks to @muhdsalm)
- Recovery: The action to perform recovery operations in live session.
- Power Off: Power off the system or boot into Firmware setup.
| screenshots |
|---|
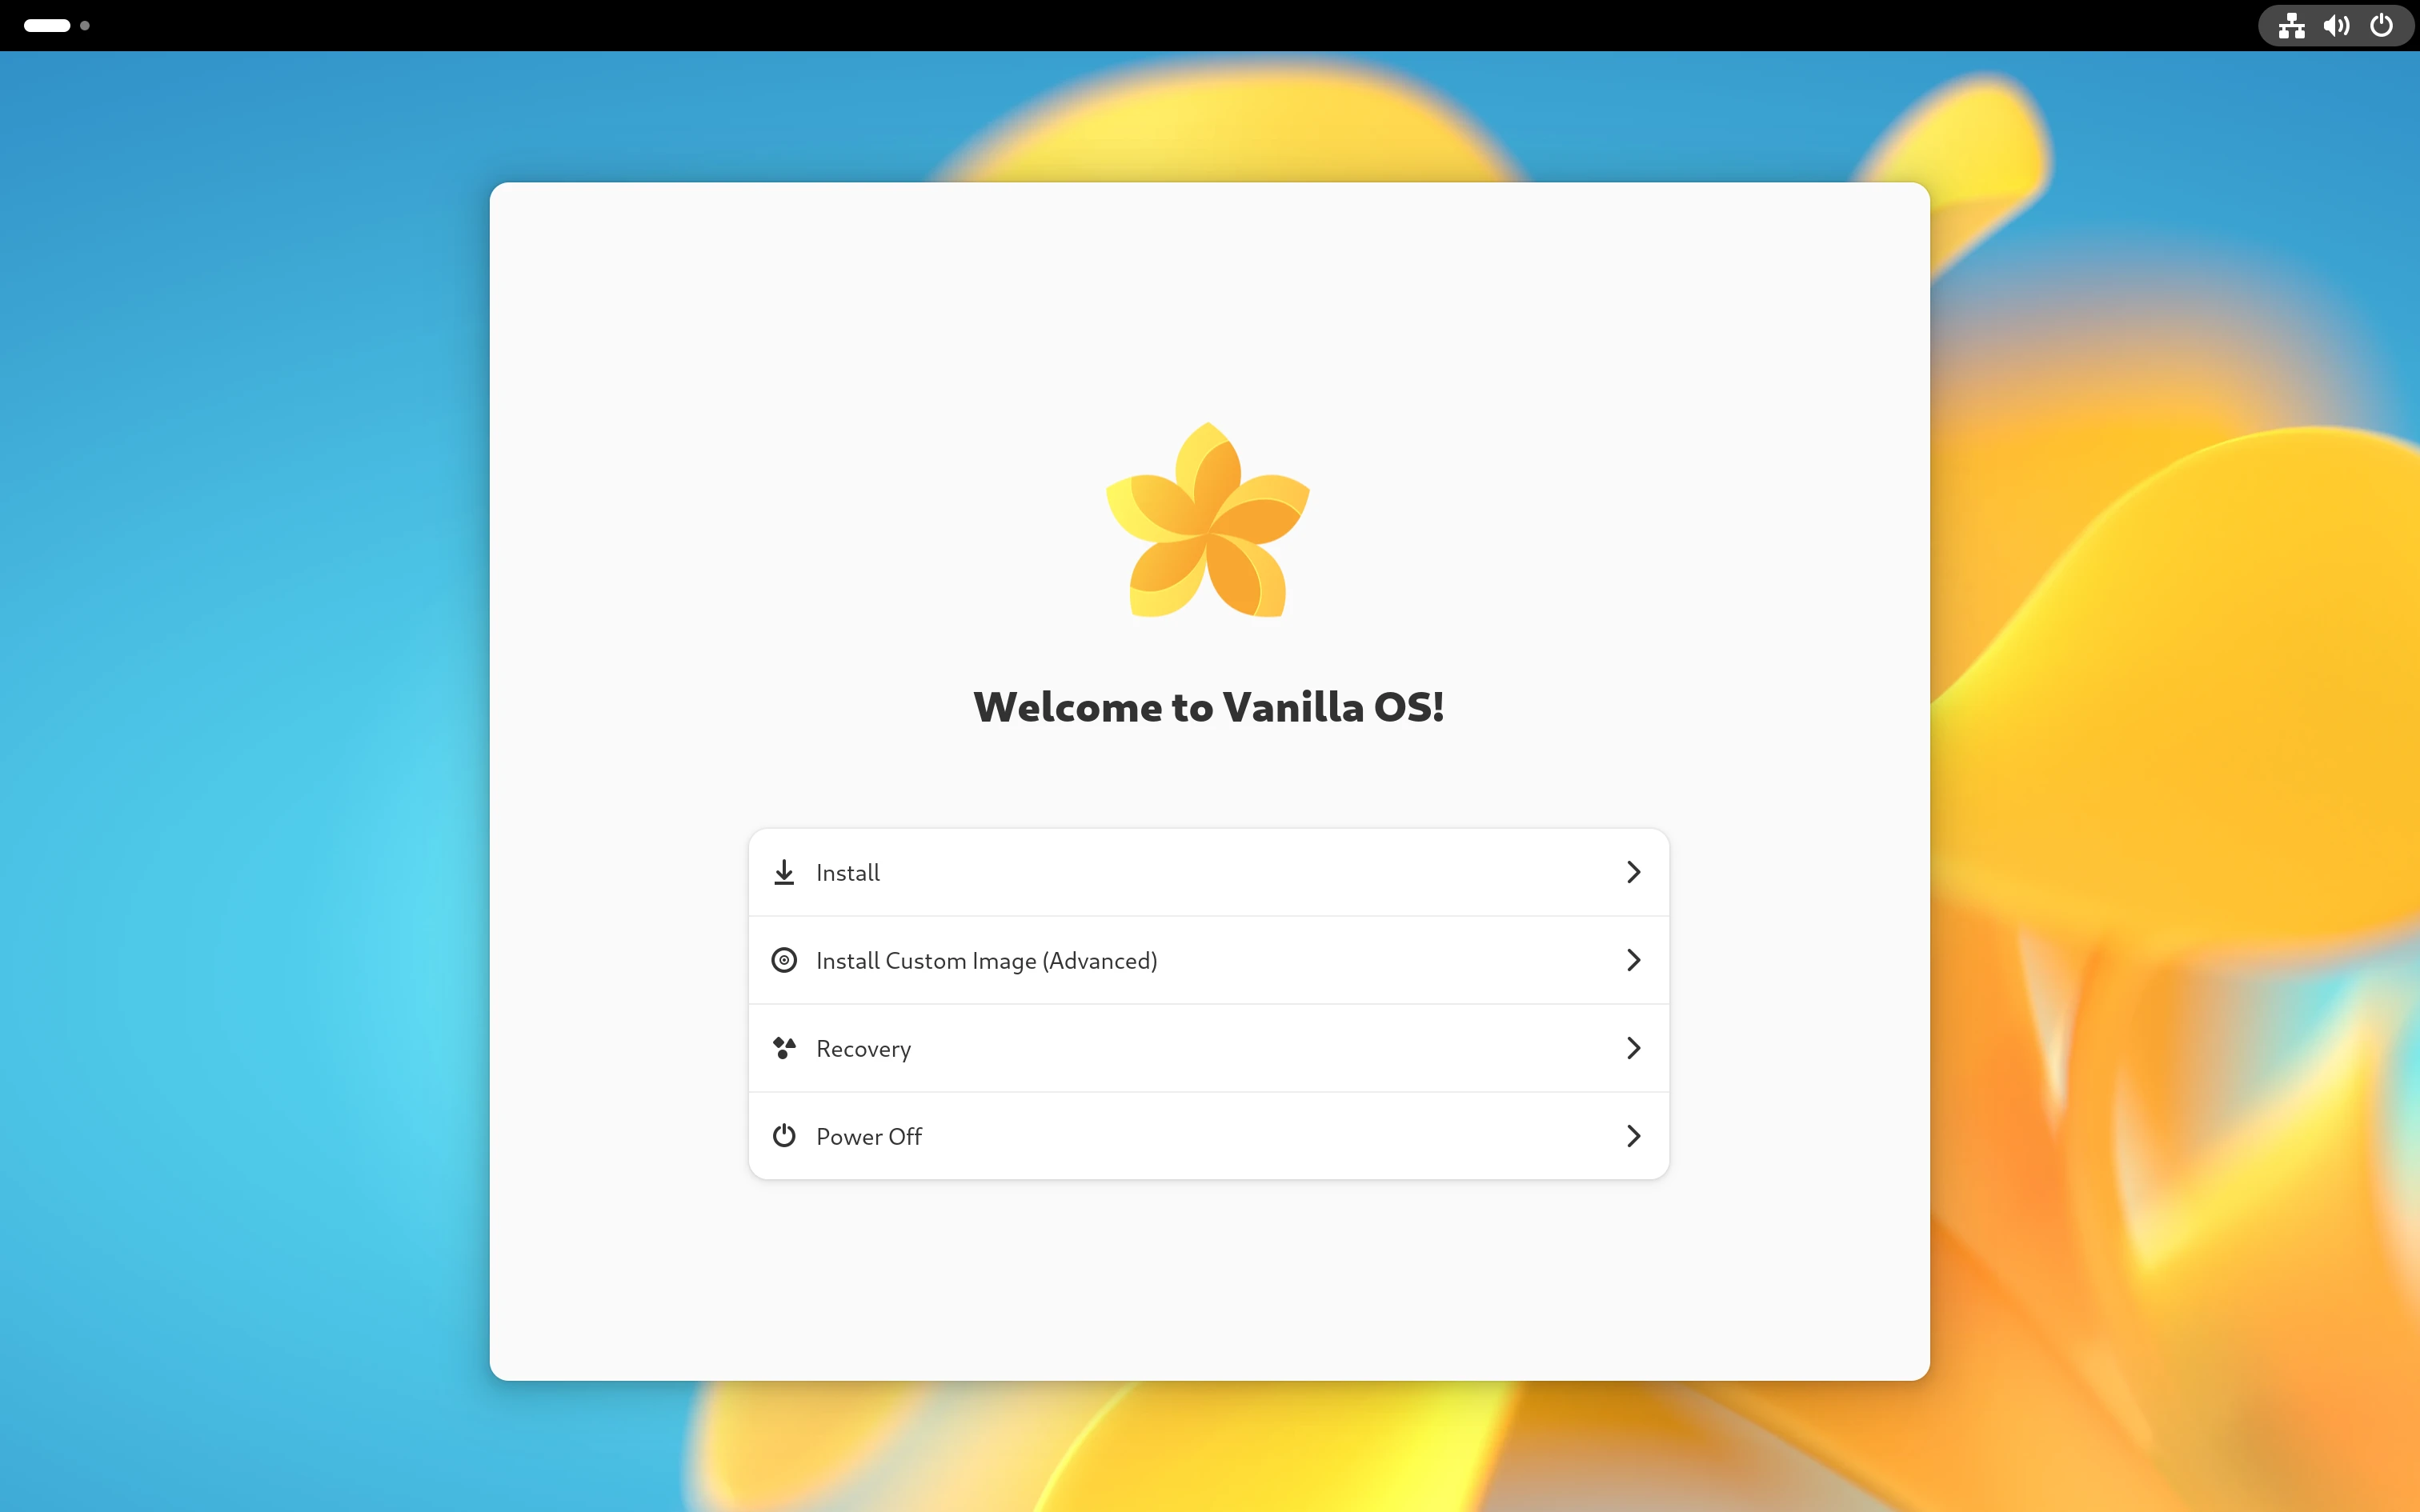 Welcome Page Welcome Page |
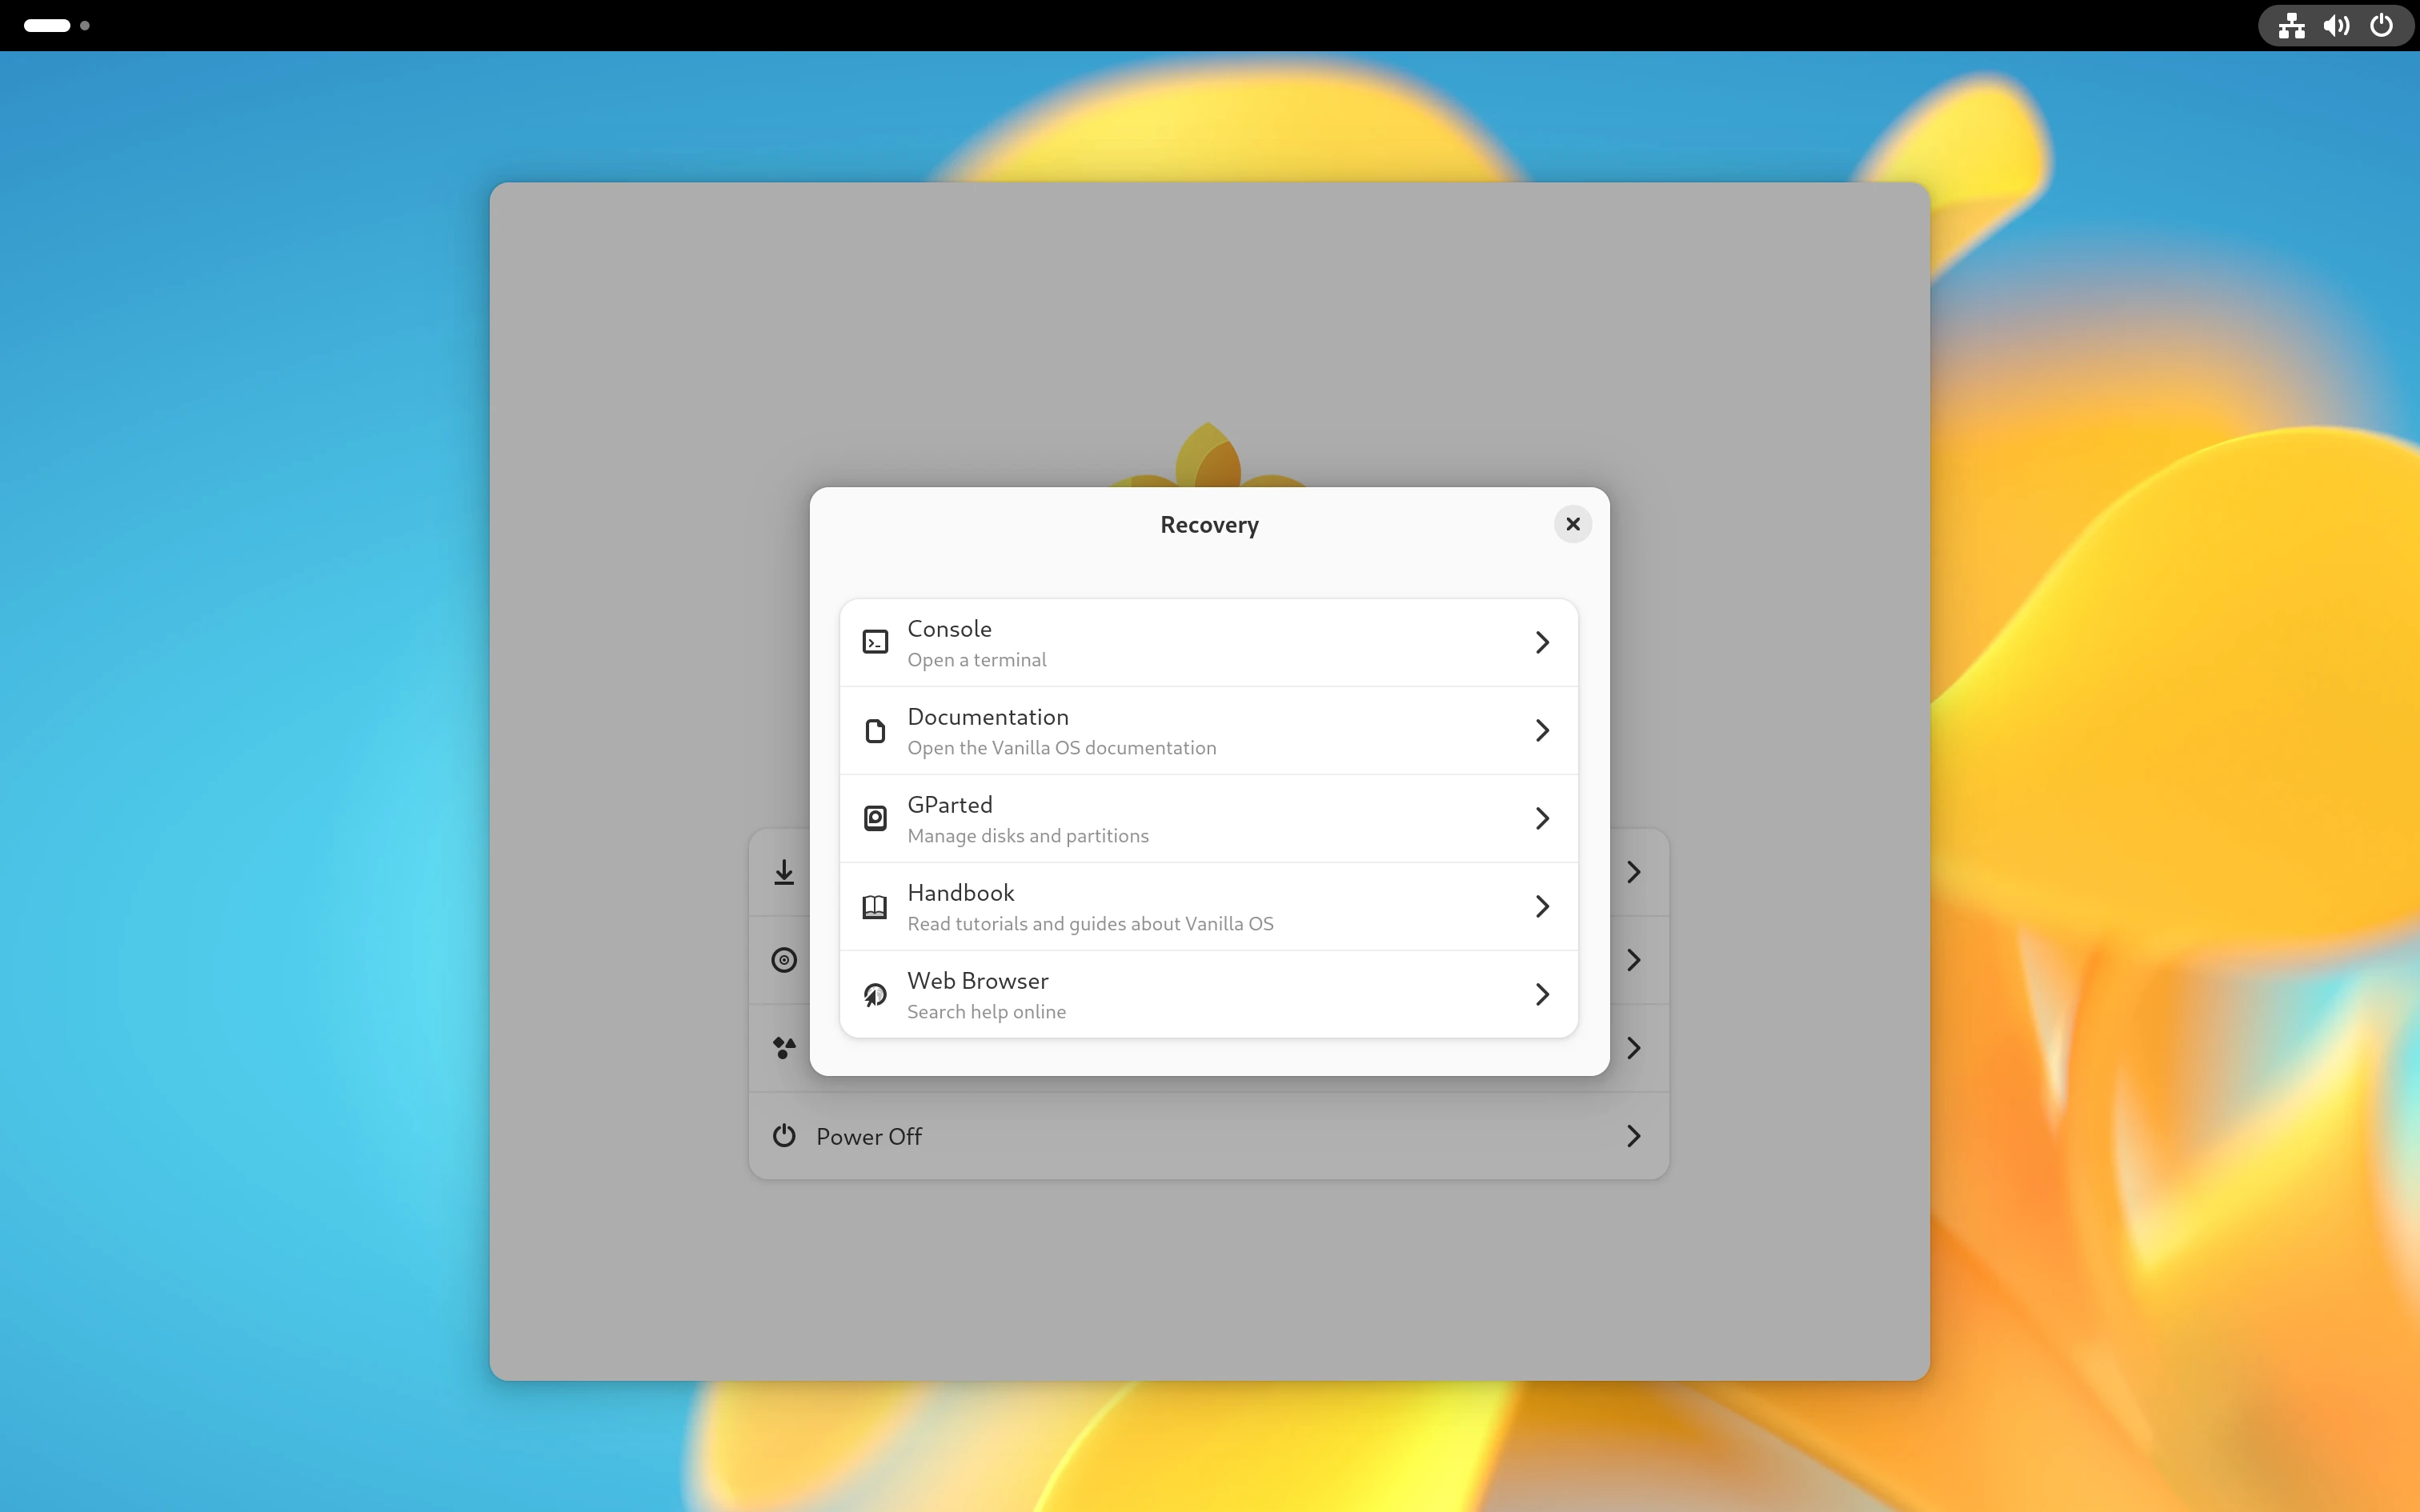 Welcome Page: Recovery Dialog Welcome Page: Recovery Dialog |
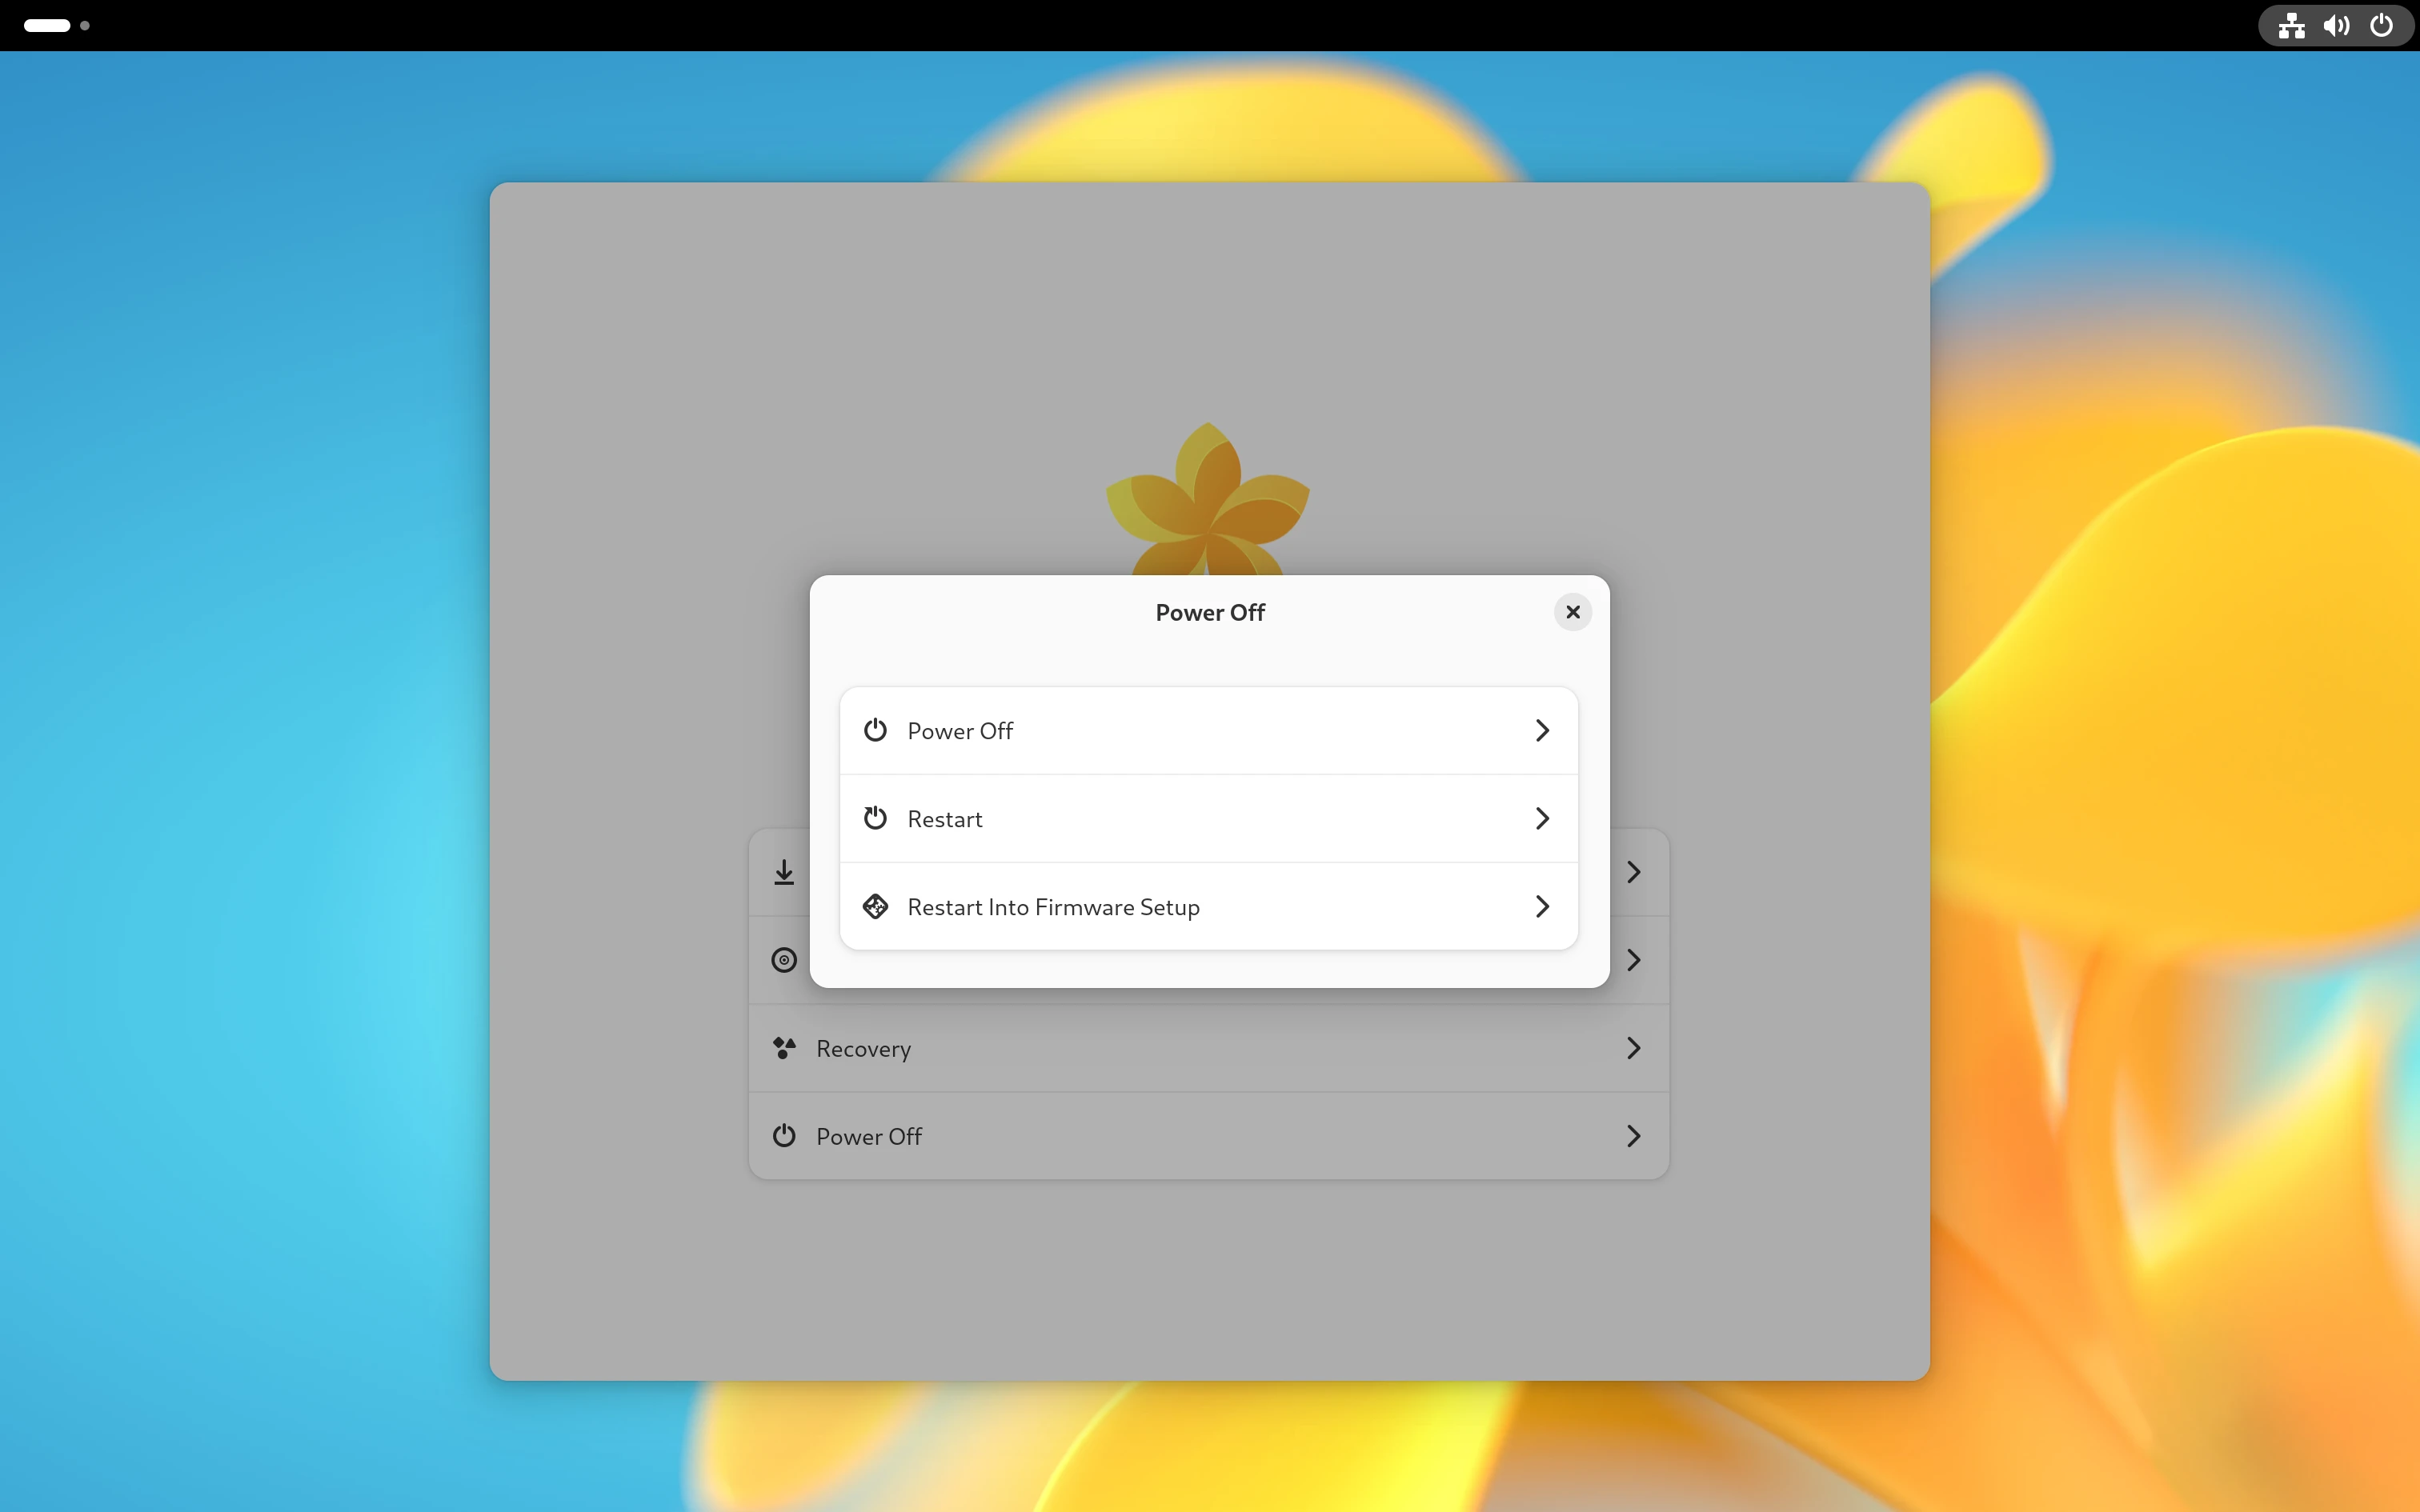 Welcome Page: Power-Off Dialog Welcome Page: Power-Off Dialog |
Language
The language screen previously only presented the list of langugaes to choose from in the form of Dropdown Menu, which uhh, was not kinda great for the users to see all the languages at once. Now, in the current iteration: the installer now displays the list of languages in the form of a List Row with the language name and the language code.
| screenshots |
|---|
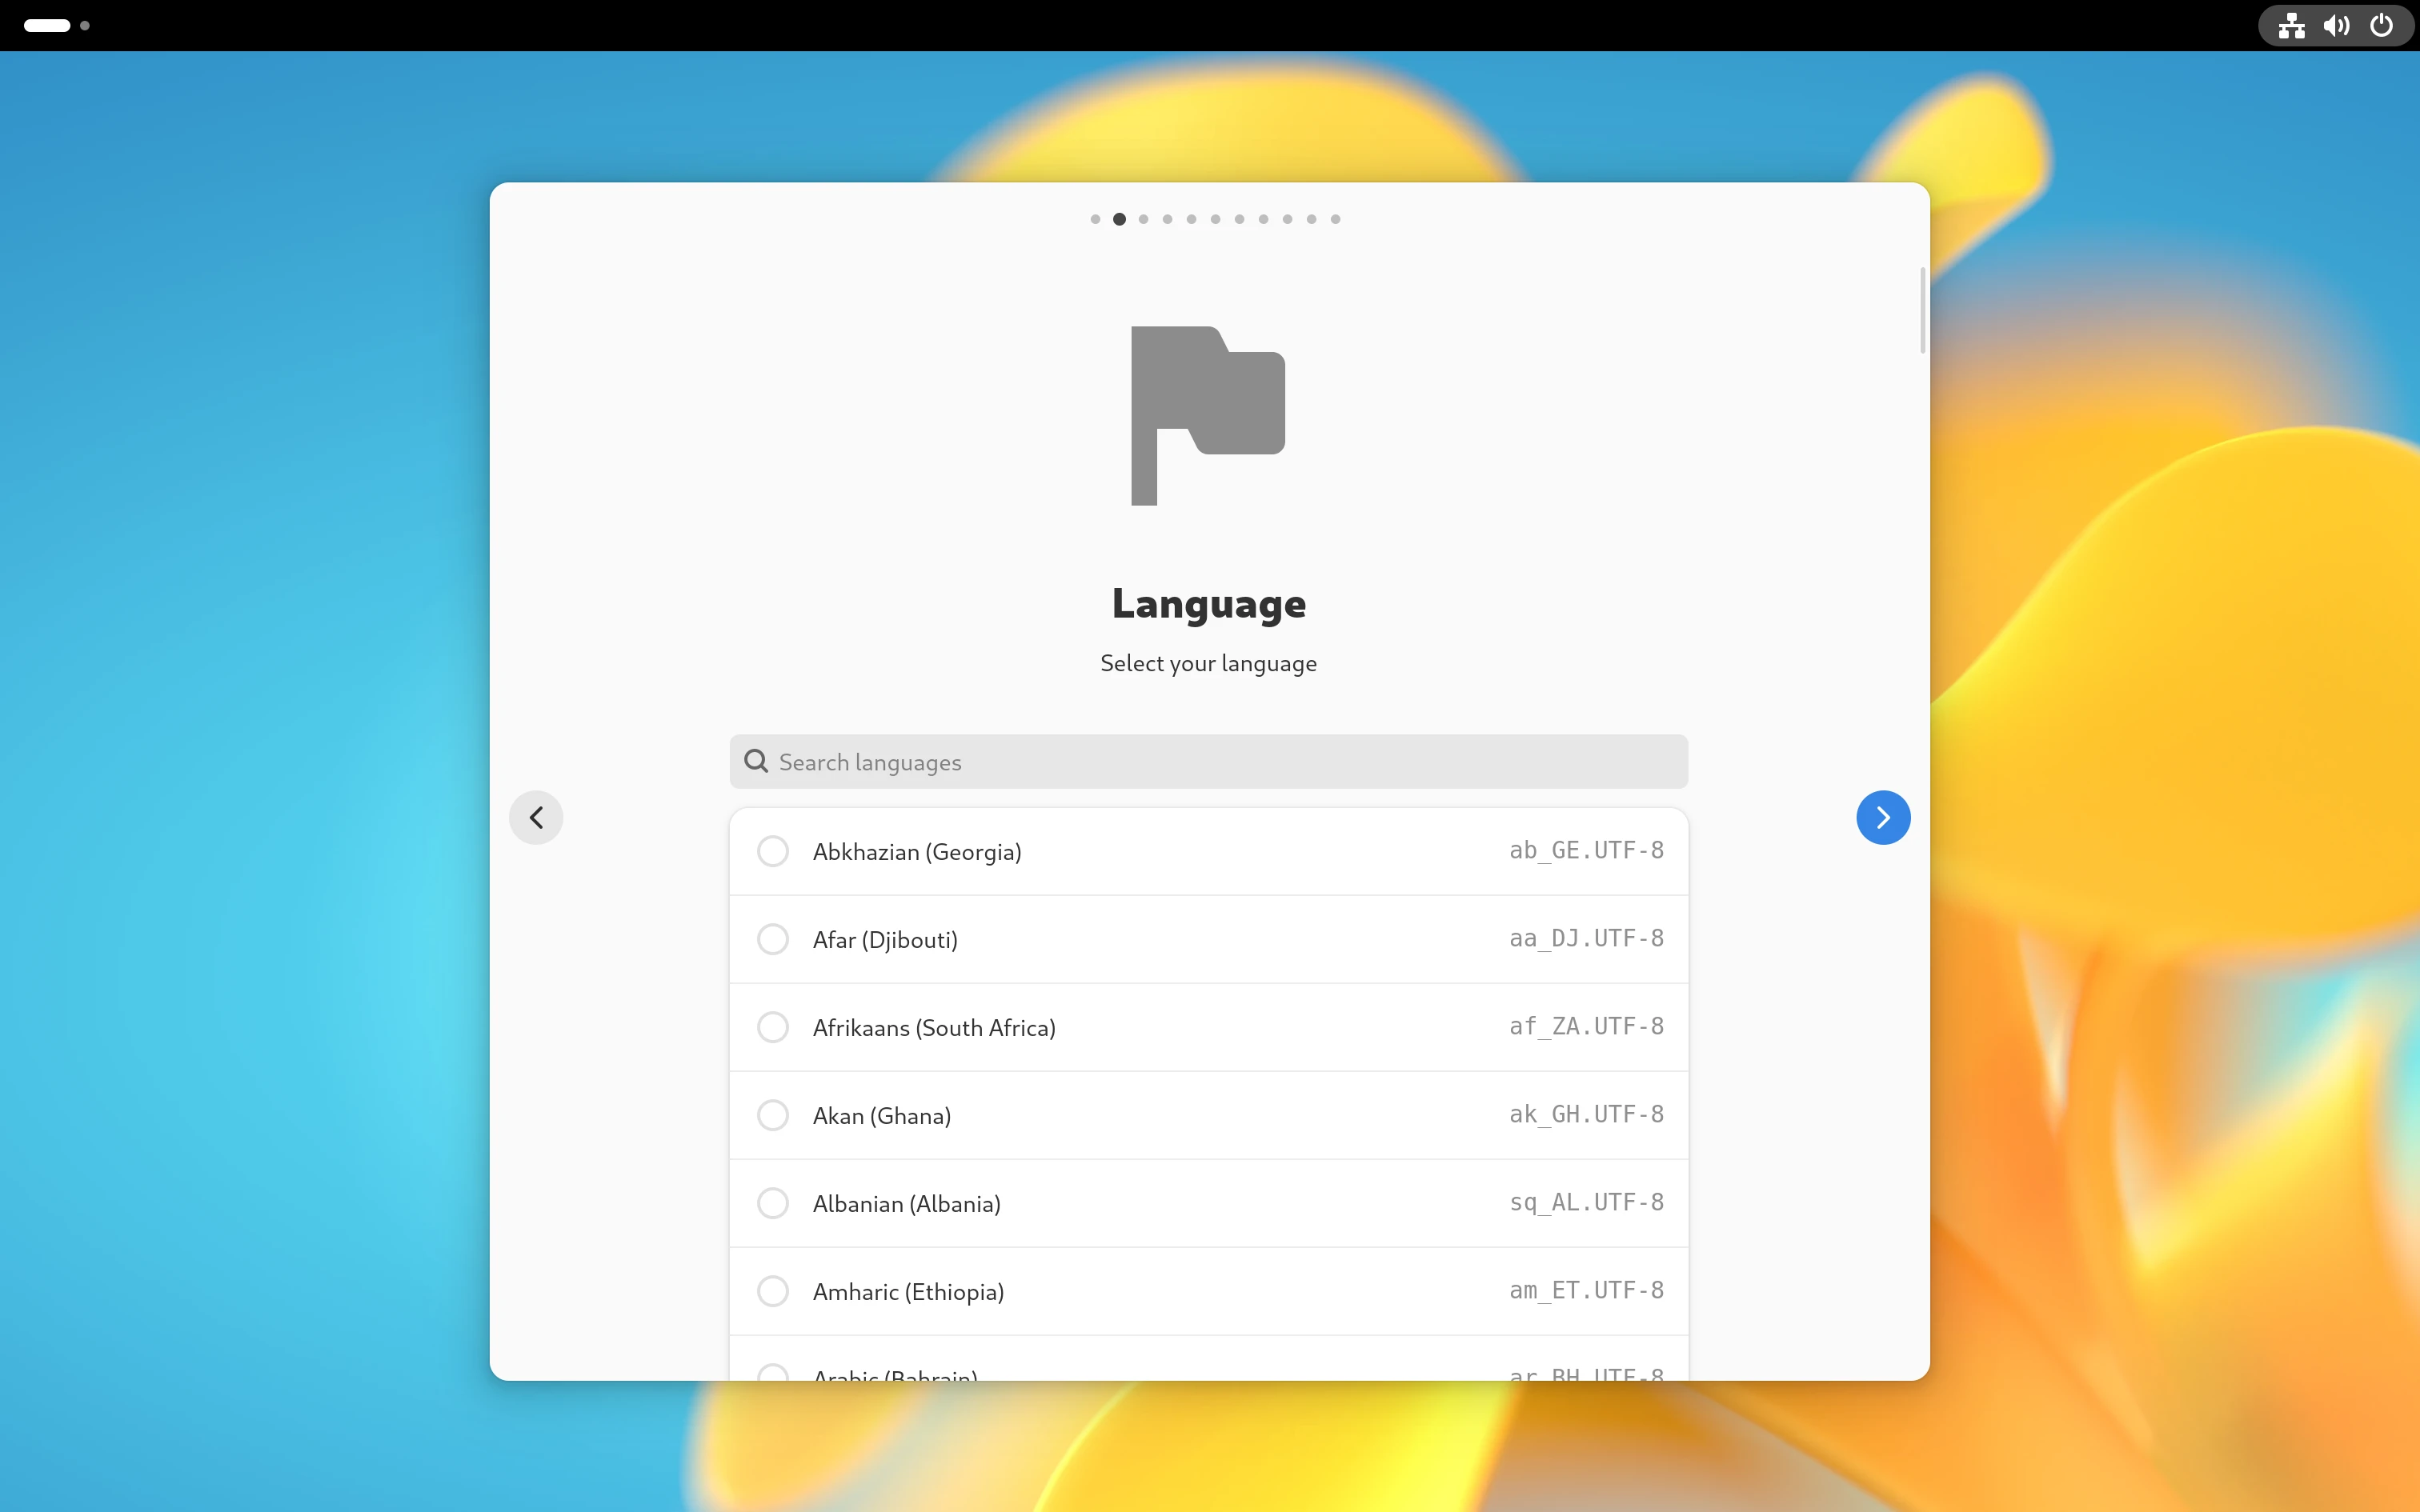 Language Page Language Page |
Keyboard
Same story from the language screen, the keyboard screen now additionally allows the user to choose more than one keyboard layout(s) -- thanks @muhdsalm for implementing multiple selections .
The Test your Keyboard row was moved to footer
| screenshots |
|---|
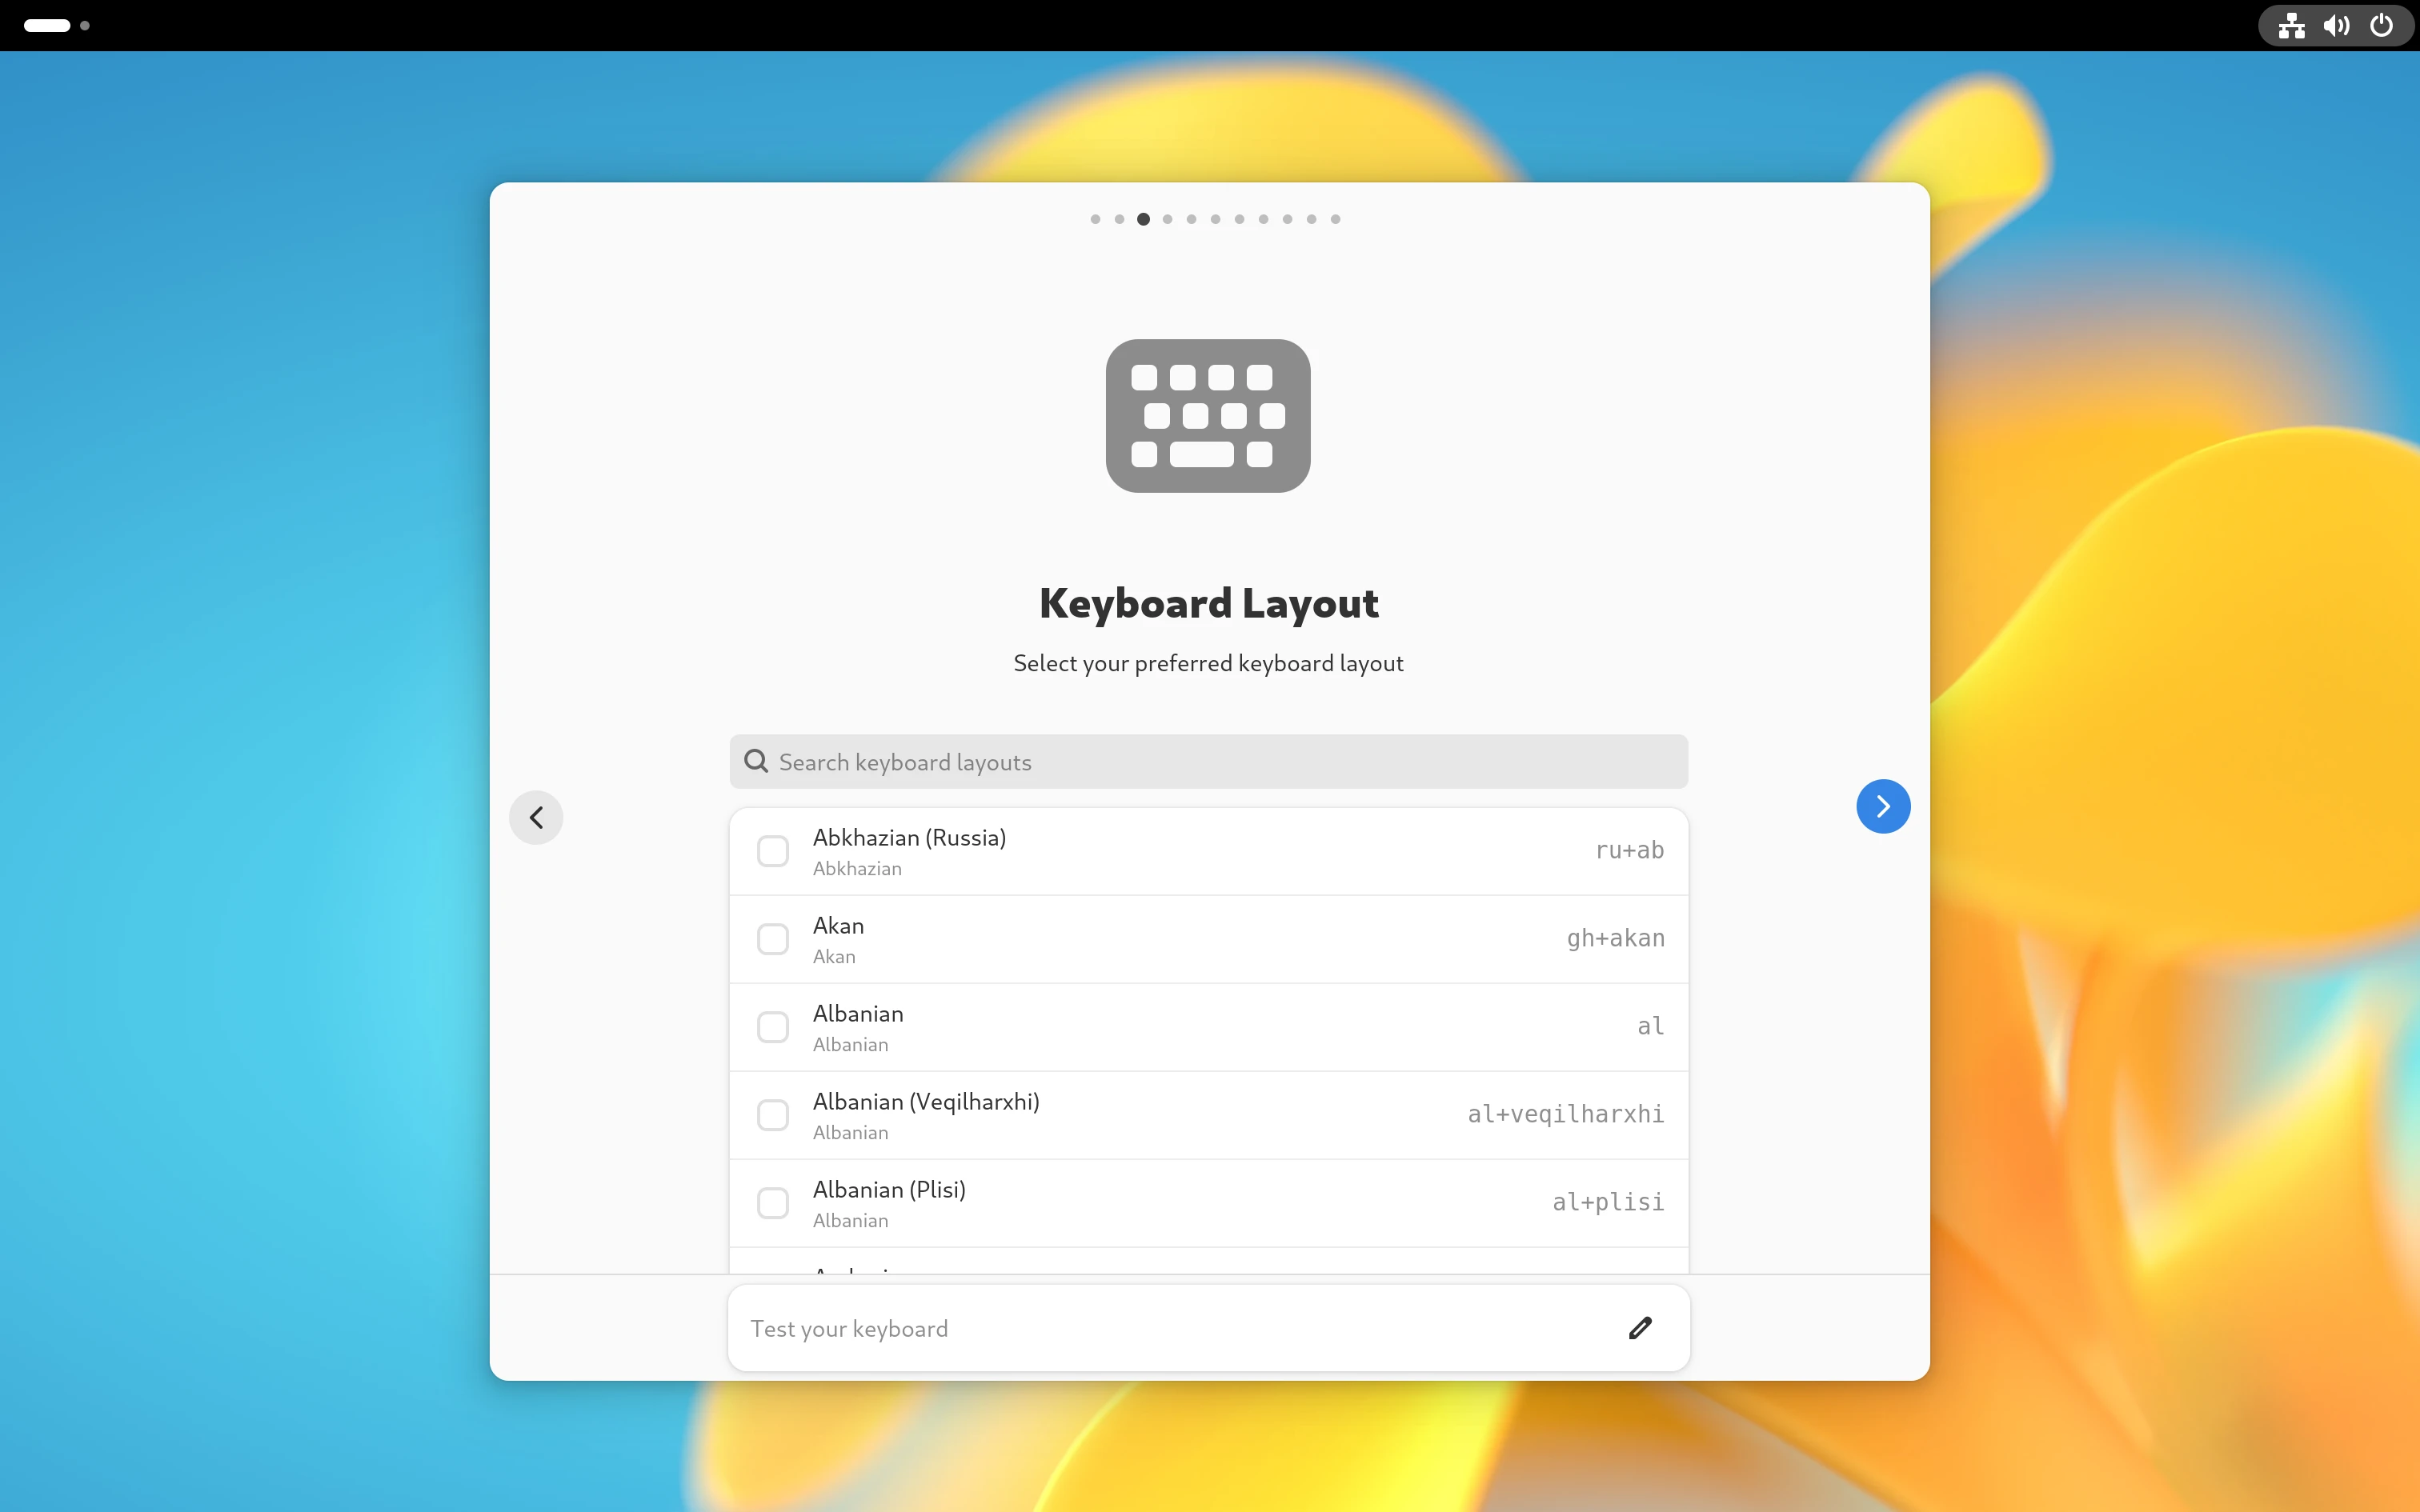 Keyboard Page Keyboard Page |
Network + Connectivity check
While the network screen was not part of the mockup, it was implemented by @matbme to allow the user to connect to the network before proceeding with the installation. The screen displays the list of available networks and allows the user to connect to the network (both wired and wirless).
After the network is connected, the installer performs a connectivity check in next screen to ensure the network is working properly.
| screenshots |
|---|
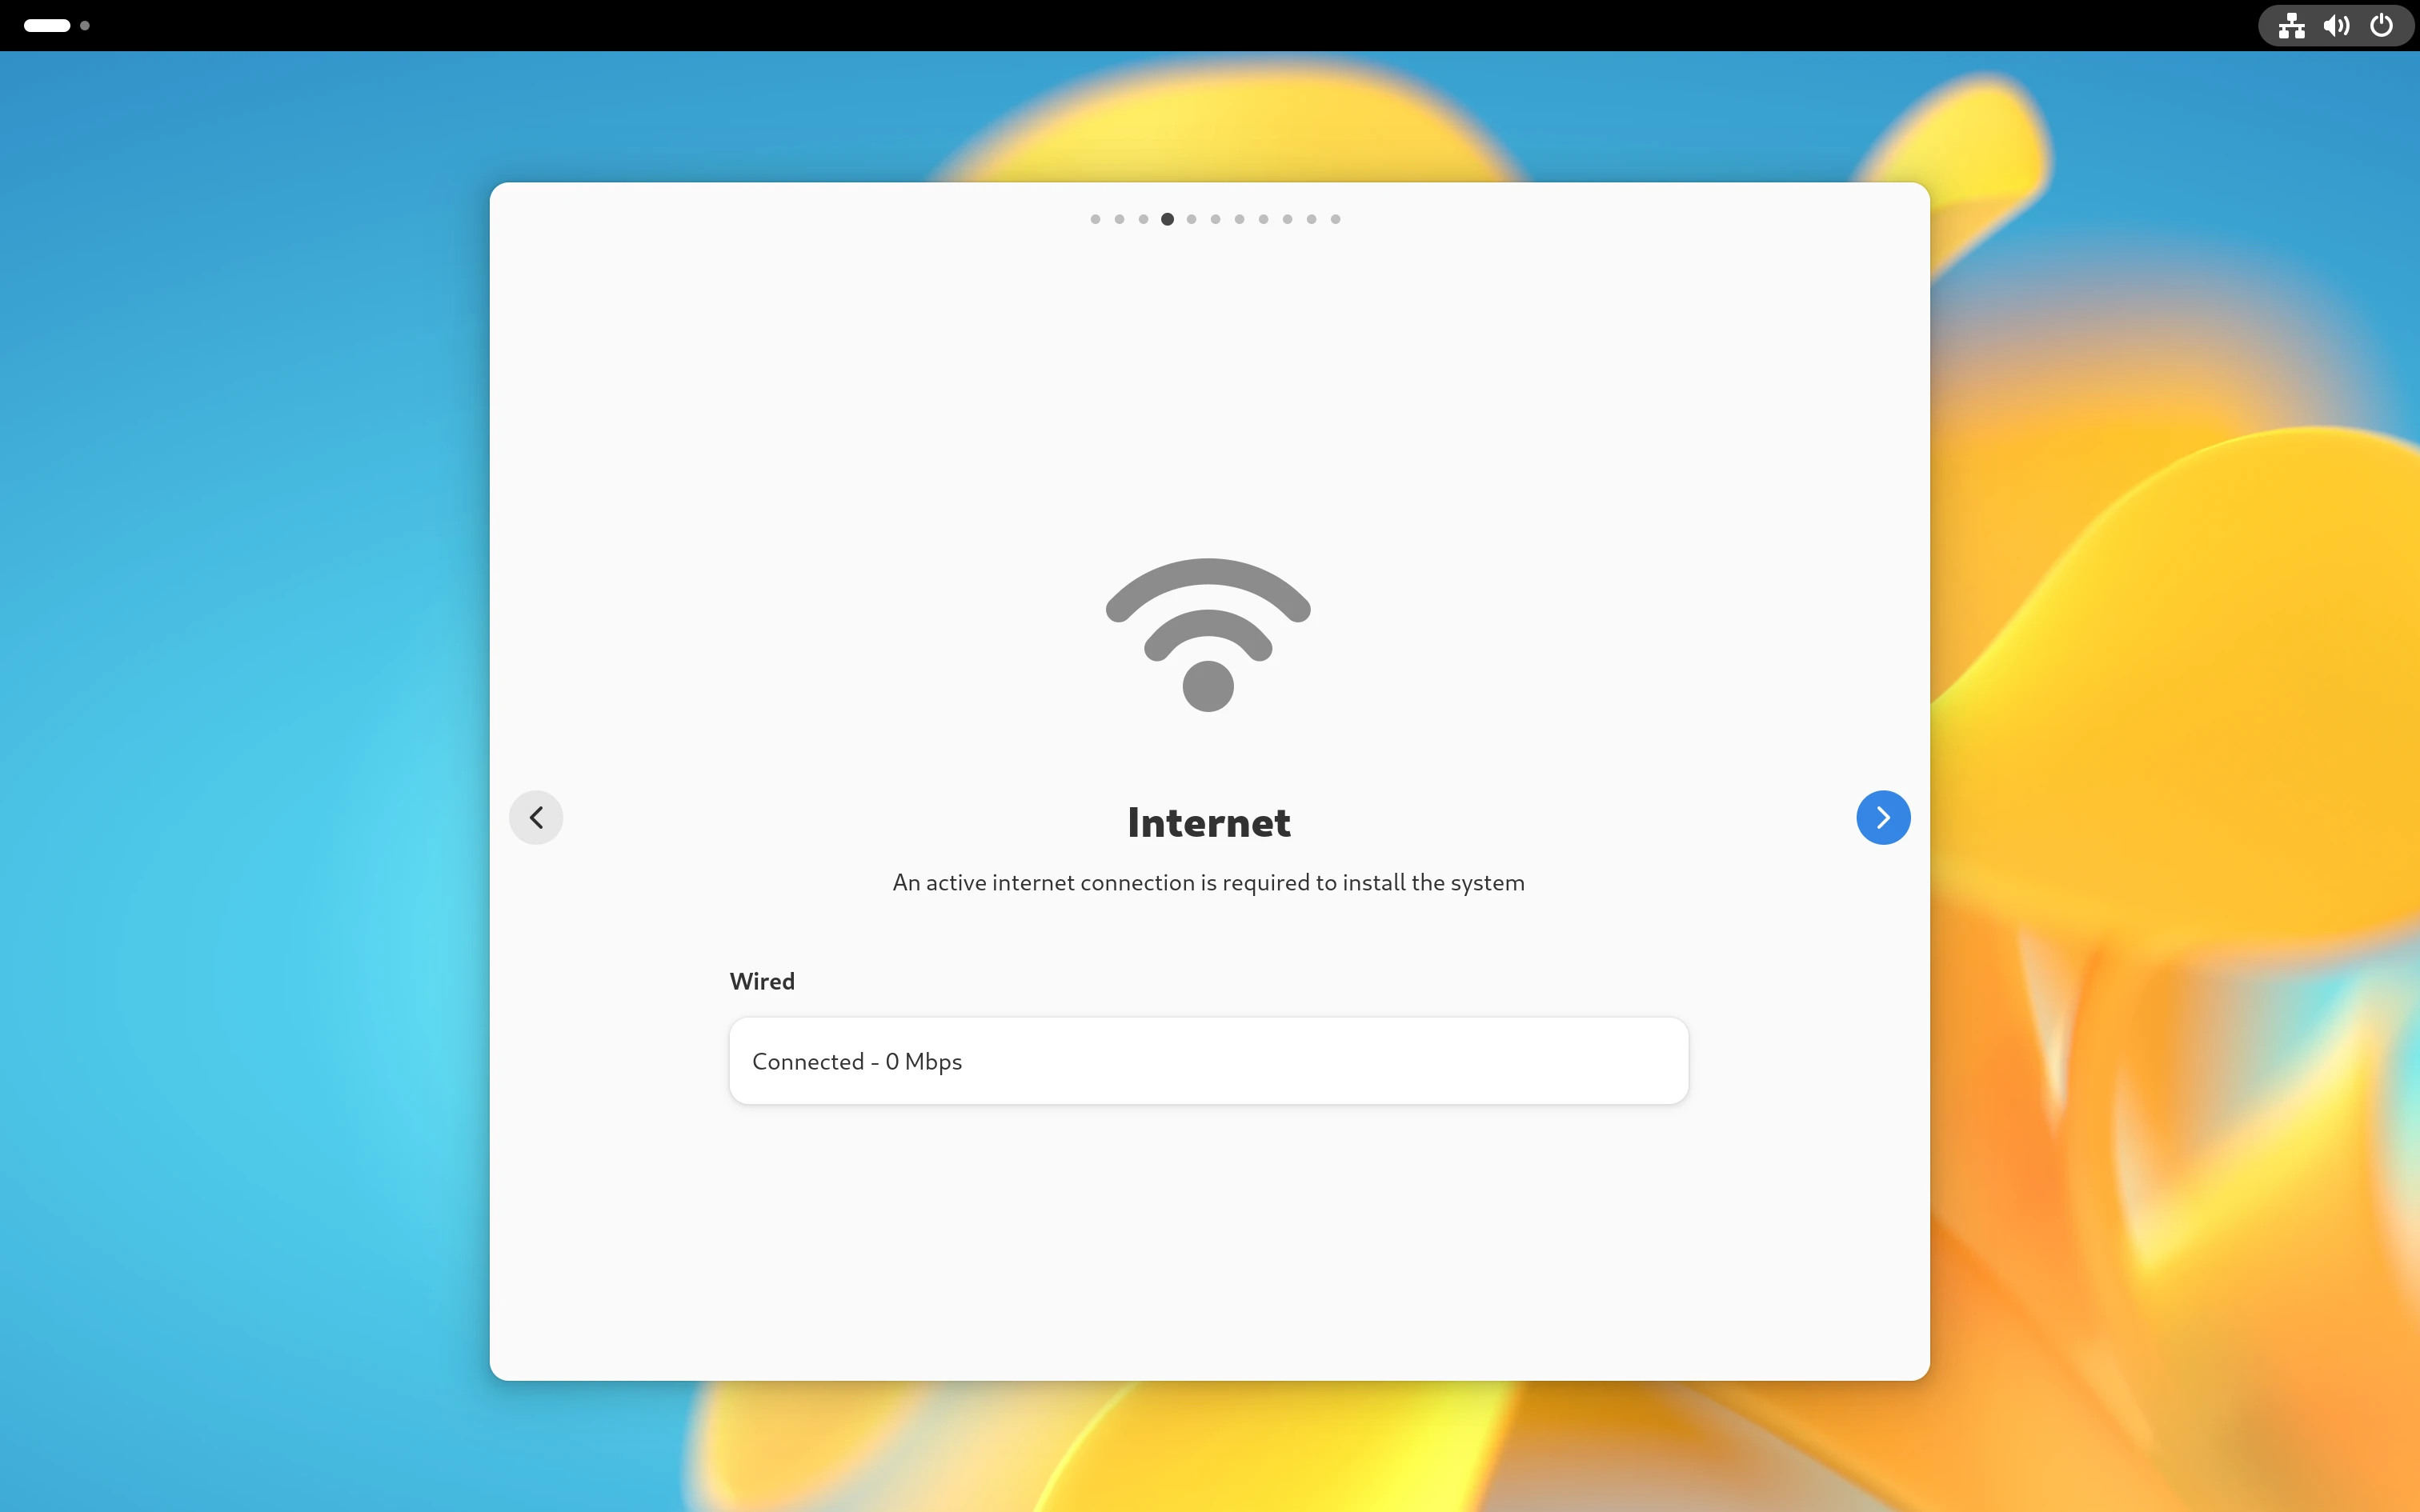 Network Page Network Page |
Timezone
The timezone page previously just like language and keyboard page displayed timezones in the form of Dropdown Menu. Now, in the current iteration: the installer now displays the list of timezones in the form of a Expander Row with the timezone name with current time and its localized nearest timezone.
| screenshots |
|---|
 Timezone Page Timezone Page |
Encryption
The encryption page was introduced to provide the users with the option to either encrypt the disk or not. This was one of the most requested features by the community.
| screenshots |
|---|
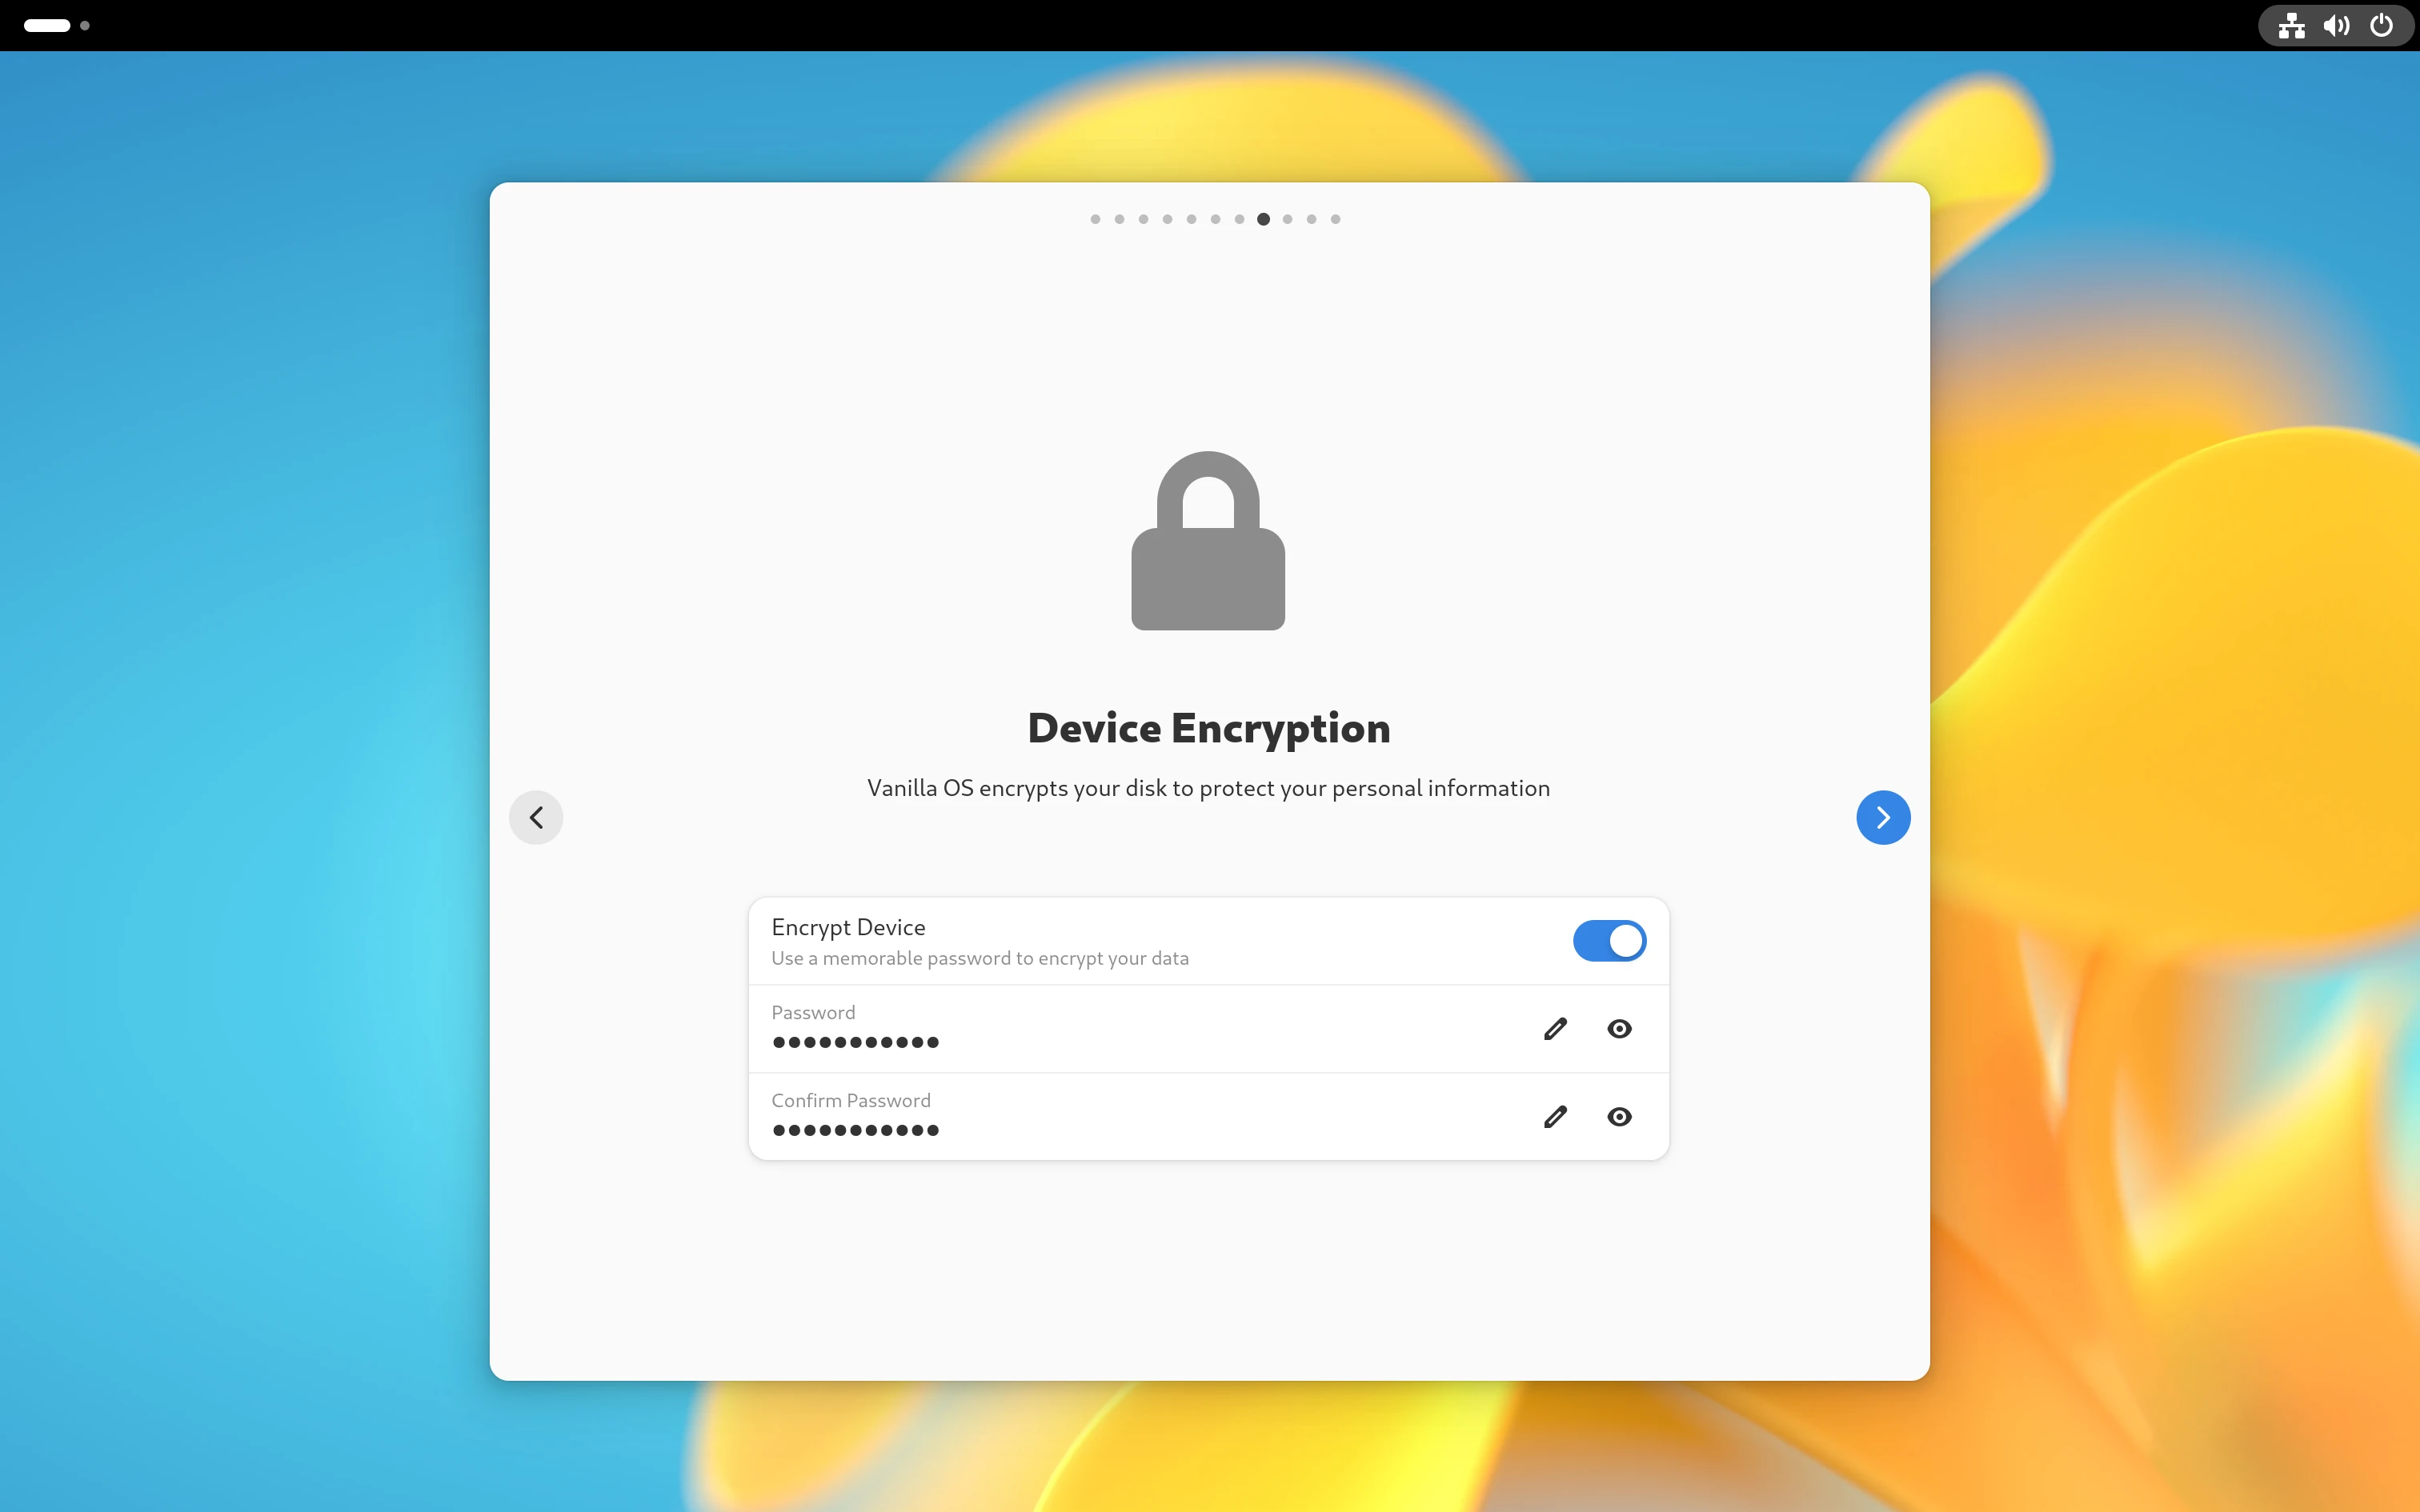 Encryption Page Encryption Page |
User
The Users page that allowed setting up user was moved to First Setup to make the installer more OEM ready!
Missing
While the above pages are implemented and were ready just in time for Orchid's release, the Disks Page is yet to complete its re-factor and the major reason for the slow progress on this is: its complexity between Auto and Manual partitioning.
The Summary and Progress pages are yet to be mocked up and implemented.
Conclusion
I think pretty much most of the pain points from previous iteration of installer have been addressed and was flawlessy integrated with the new backend.
This was all made possible by the contributions from members of the team and special thanks to all the new contributors who took their time to contribute to the installer.
Future
The installer is still in active development and the team is actively working on making it even better, you can track the progress and contribute to the installer by visiting the Vanilla Installer repository. 🚀
Note: This is my first blog post, so please let me know if you have any feedback or suggestions. 😅
 Welcome Page
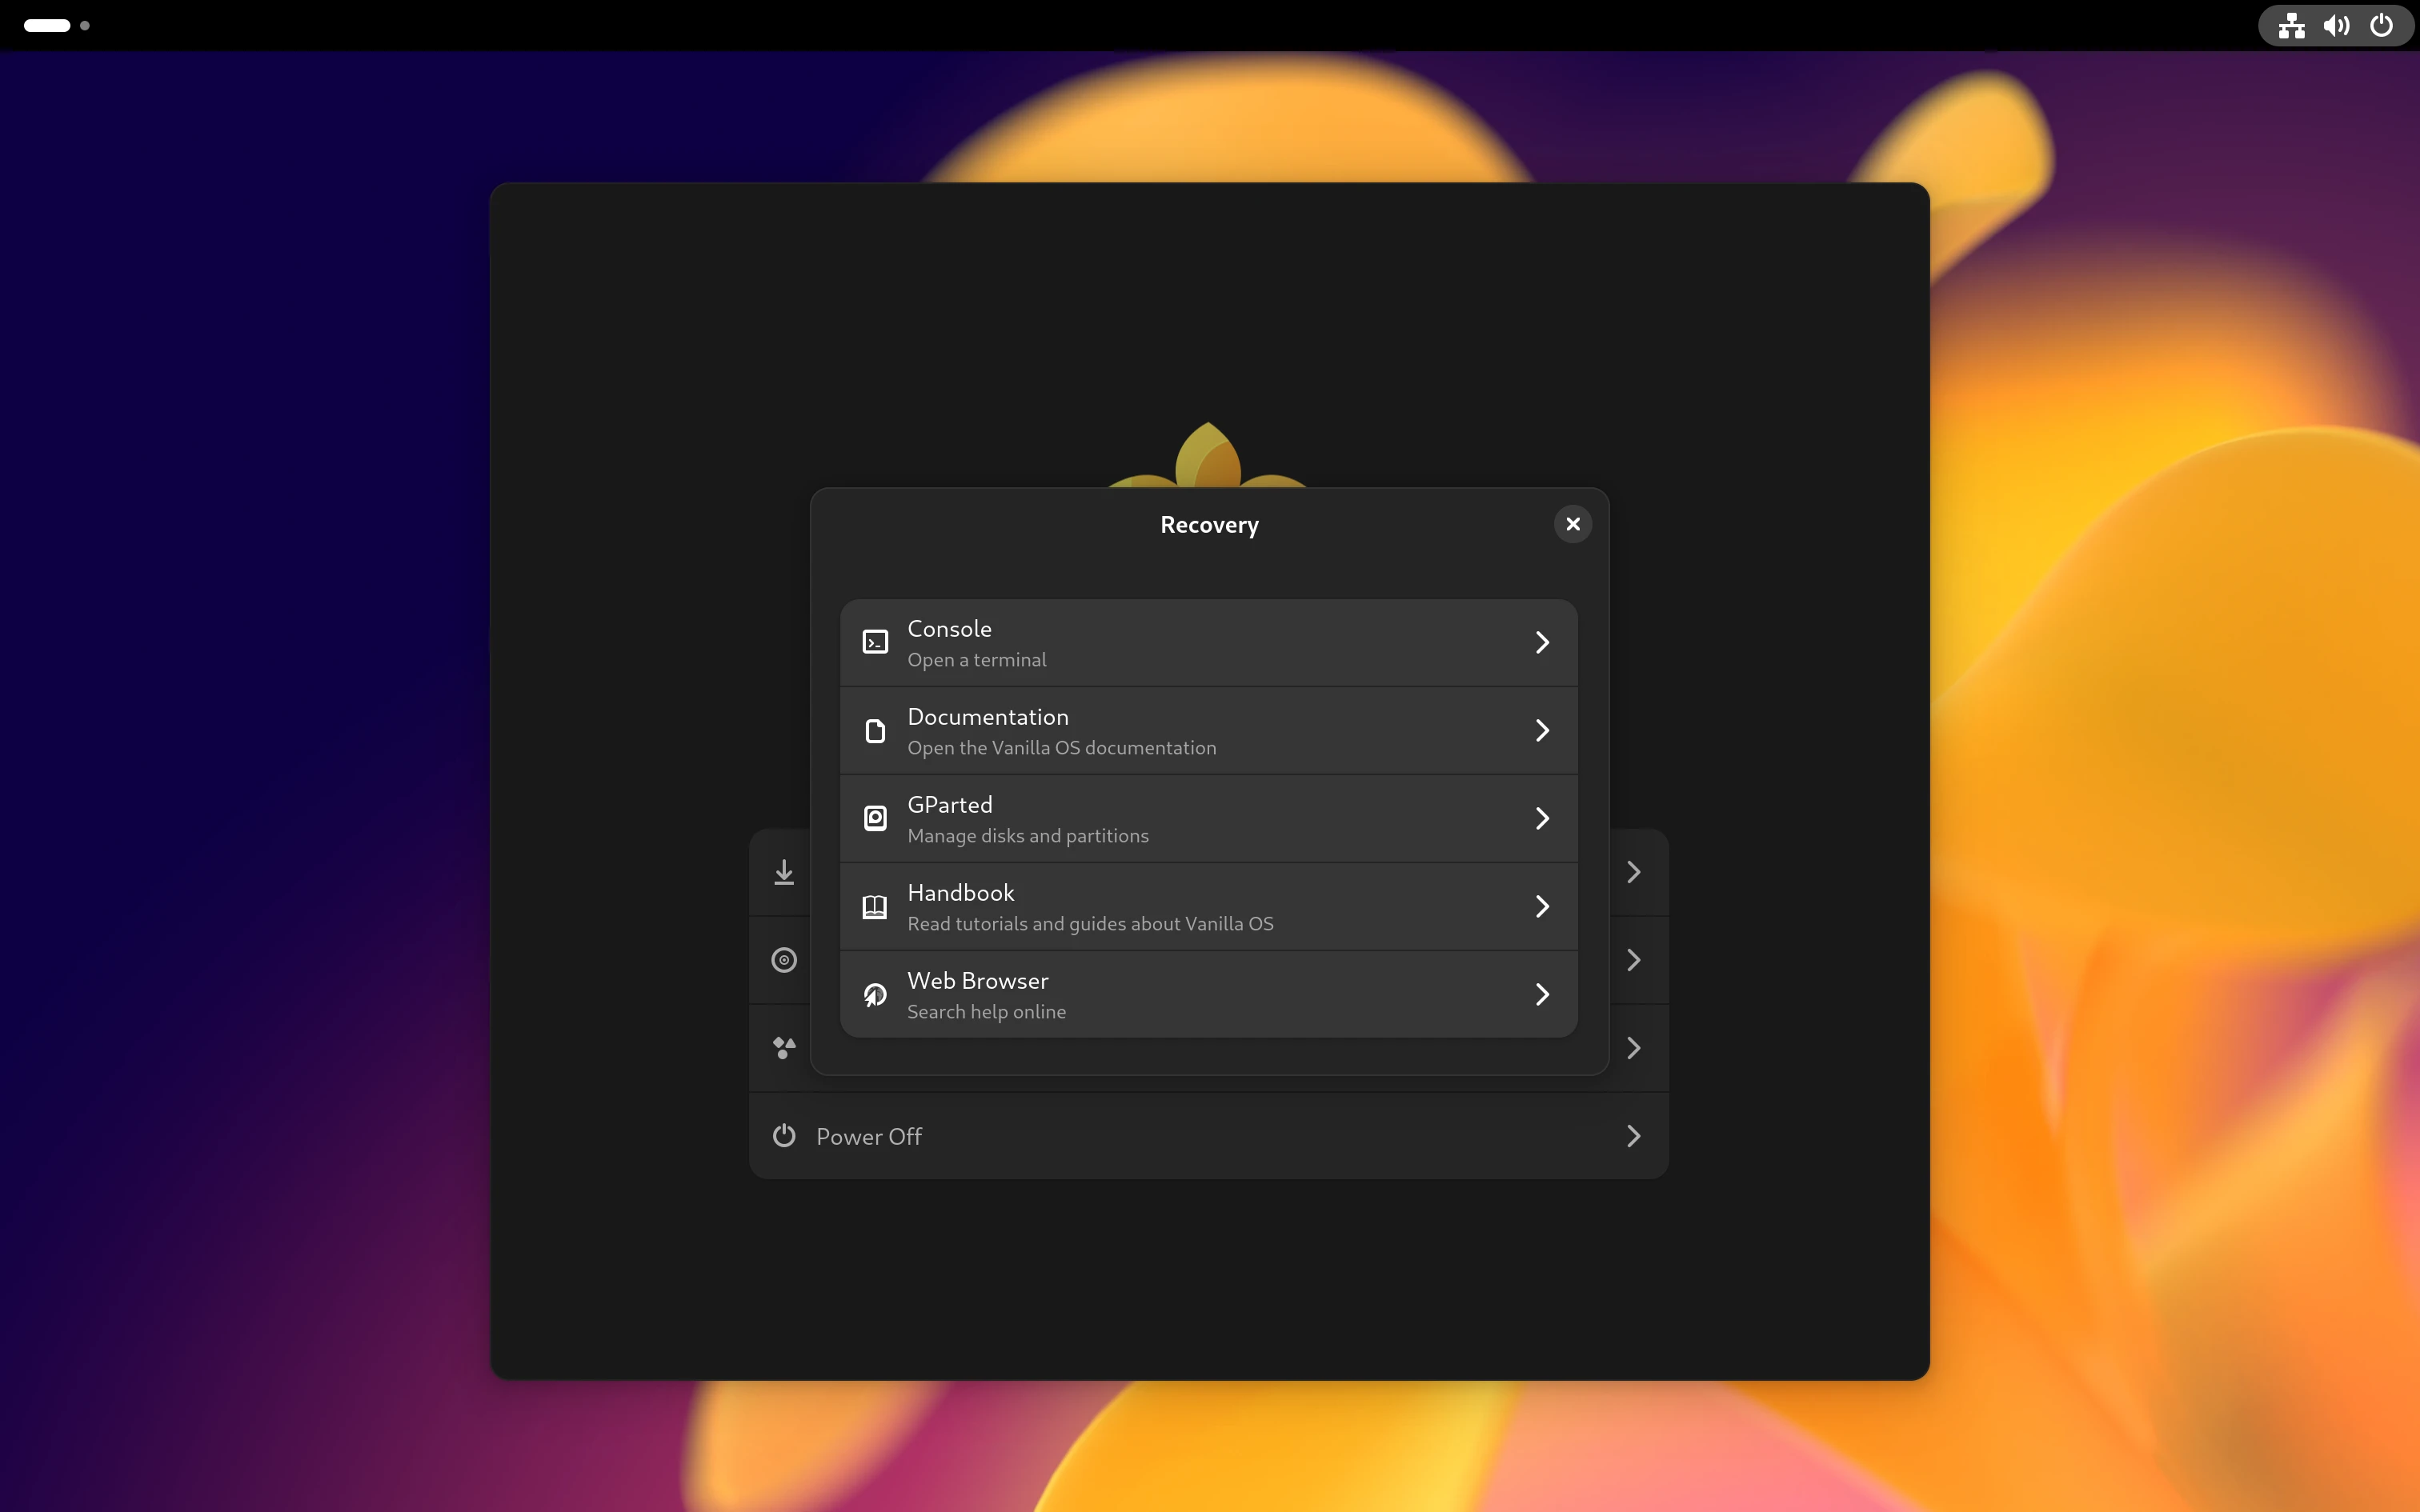 Welcome Page: Recovery Dialog
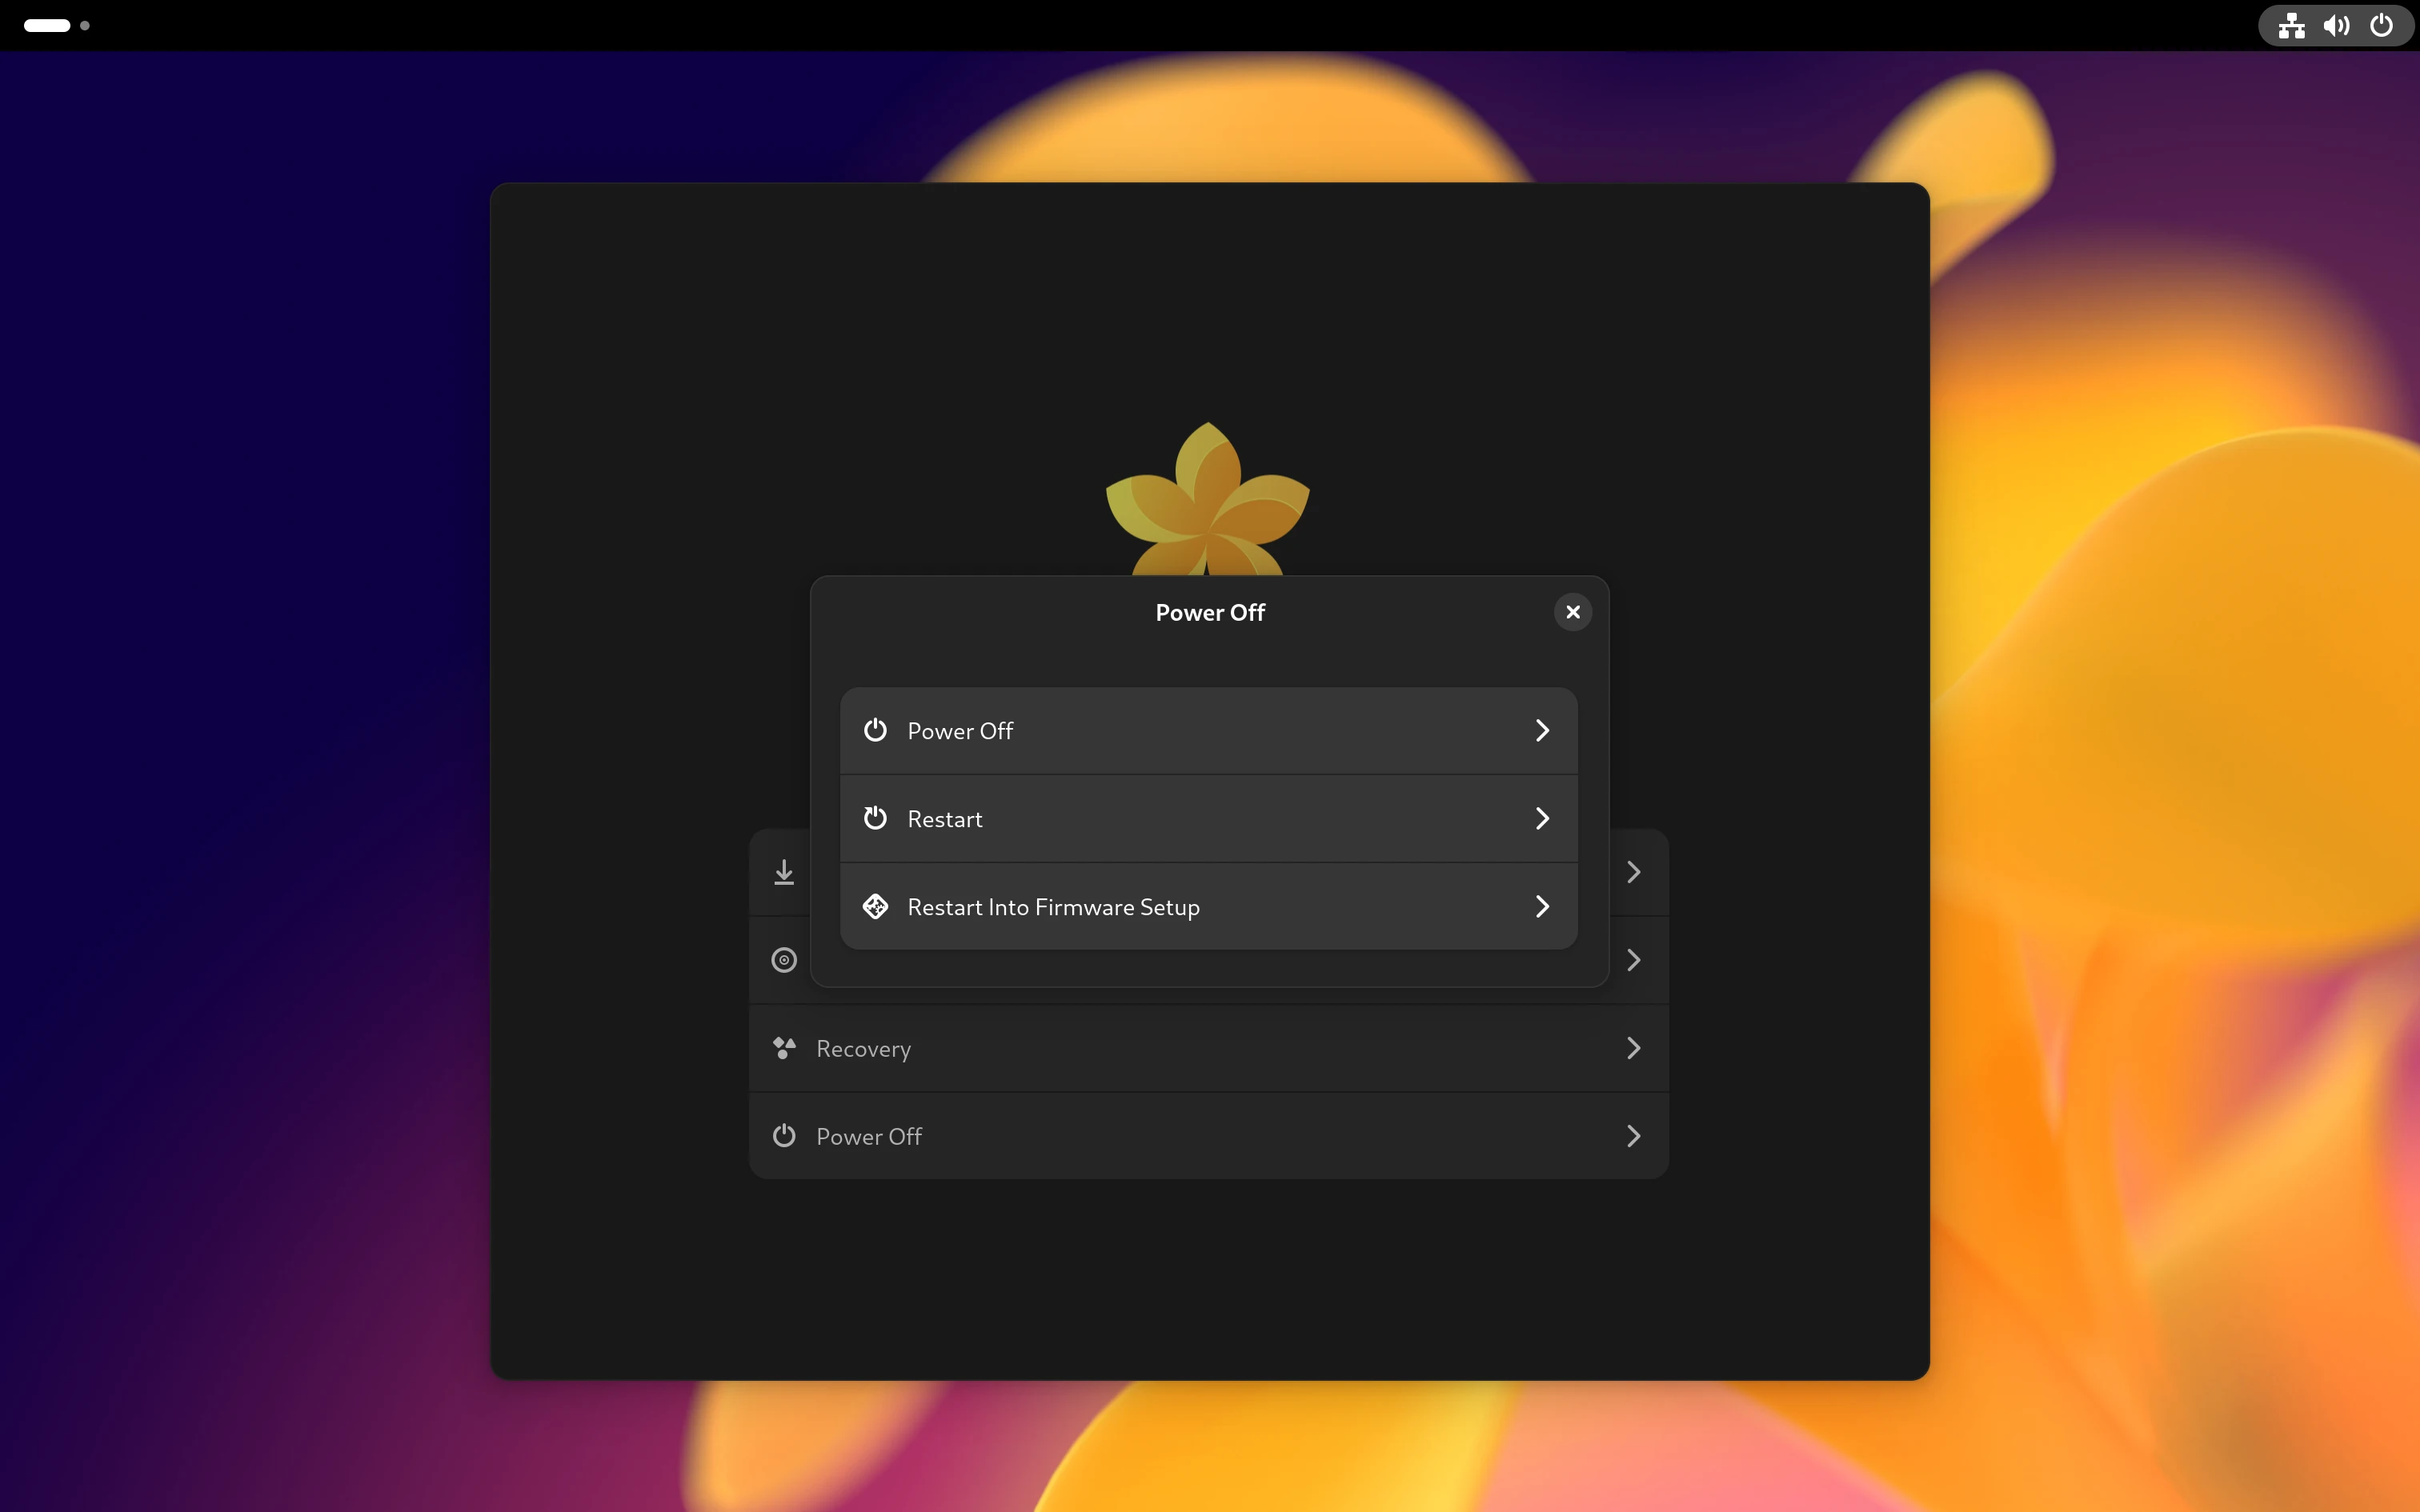 Welcome Page: Power-Off Dialog
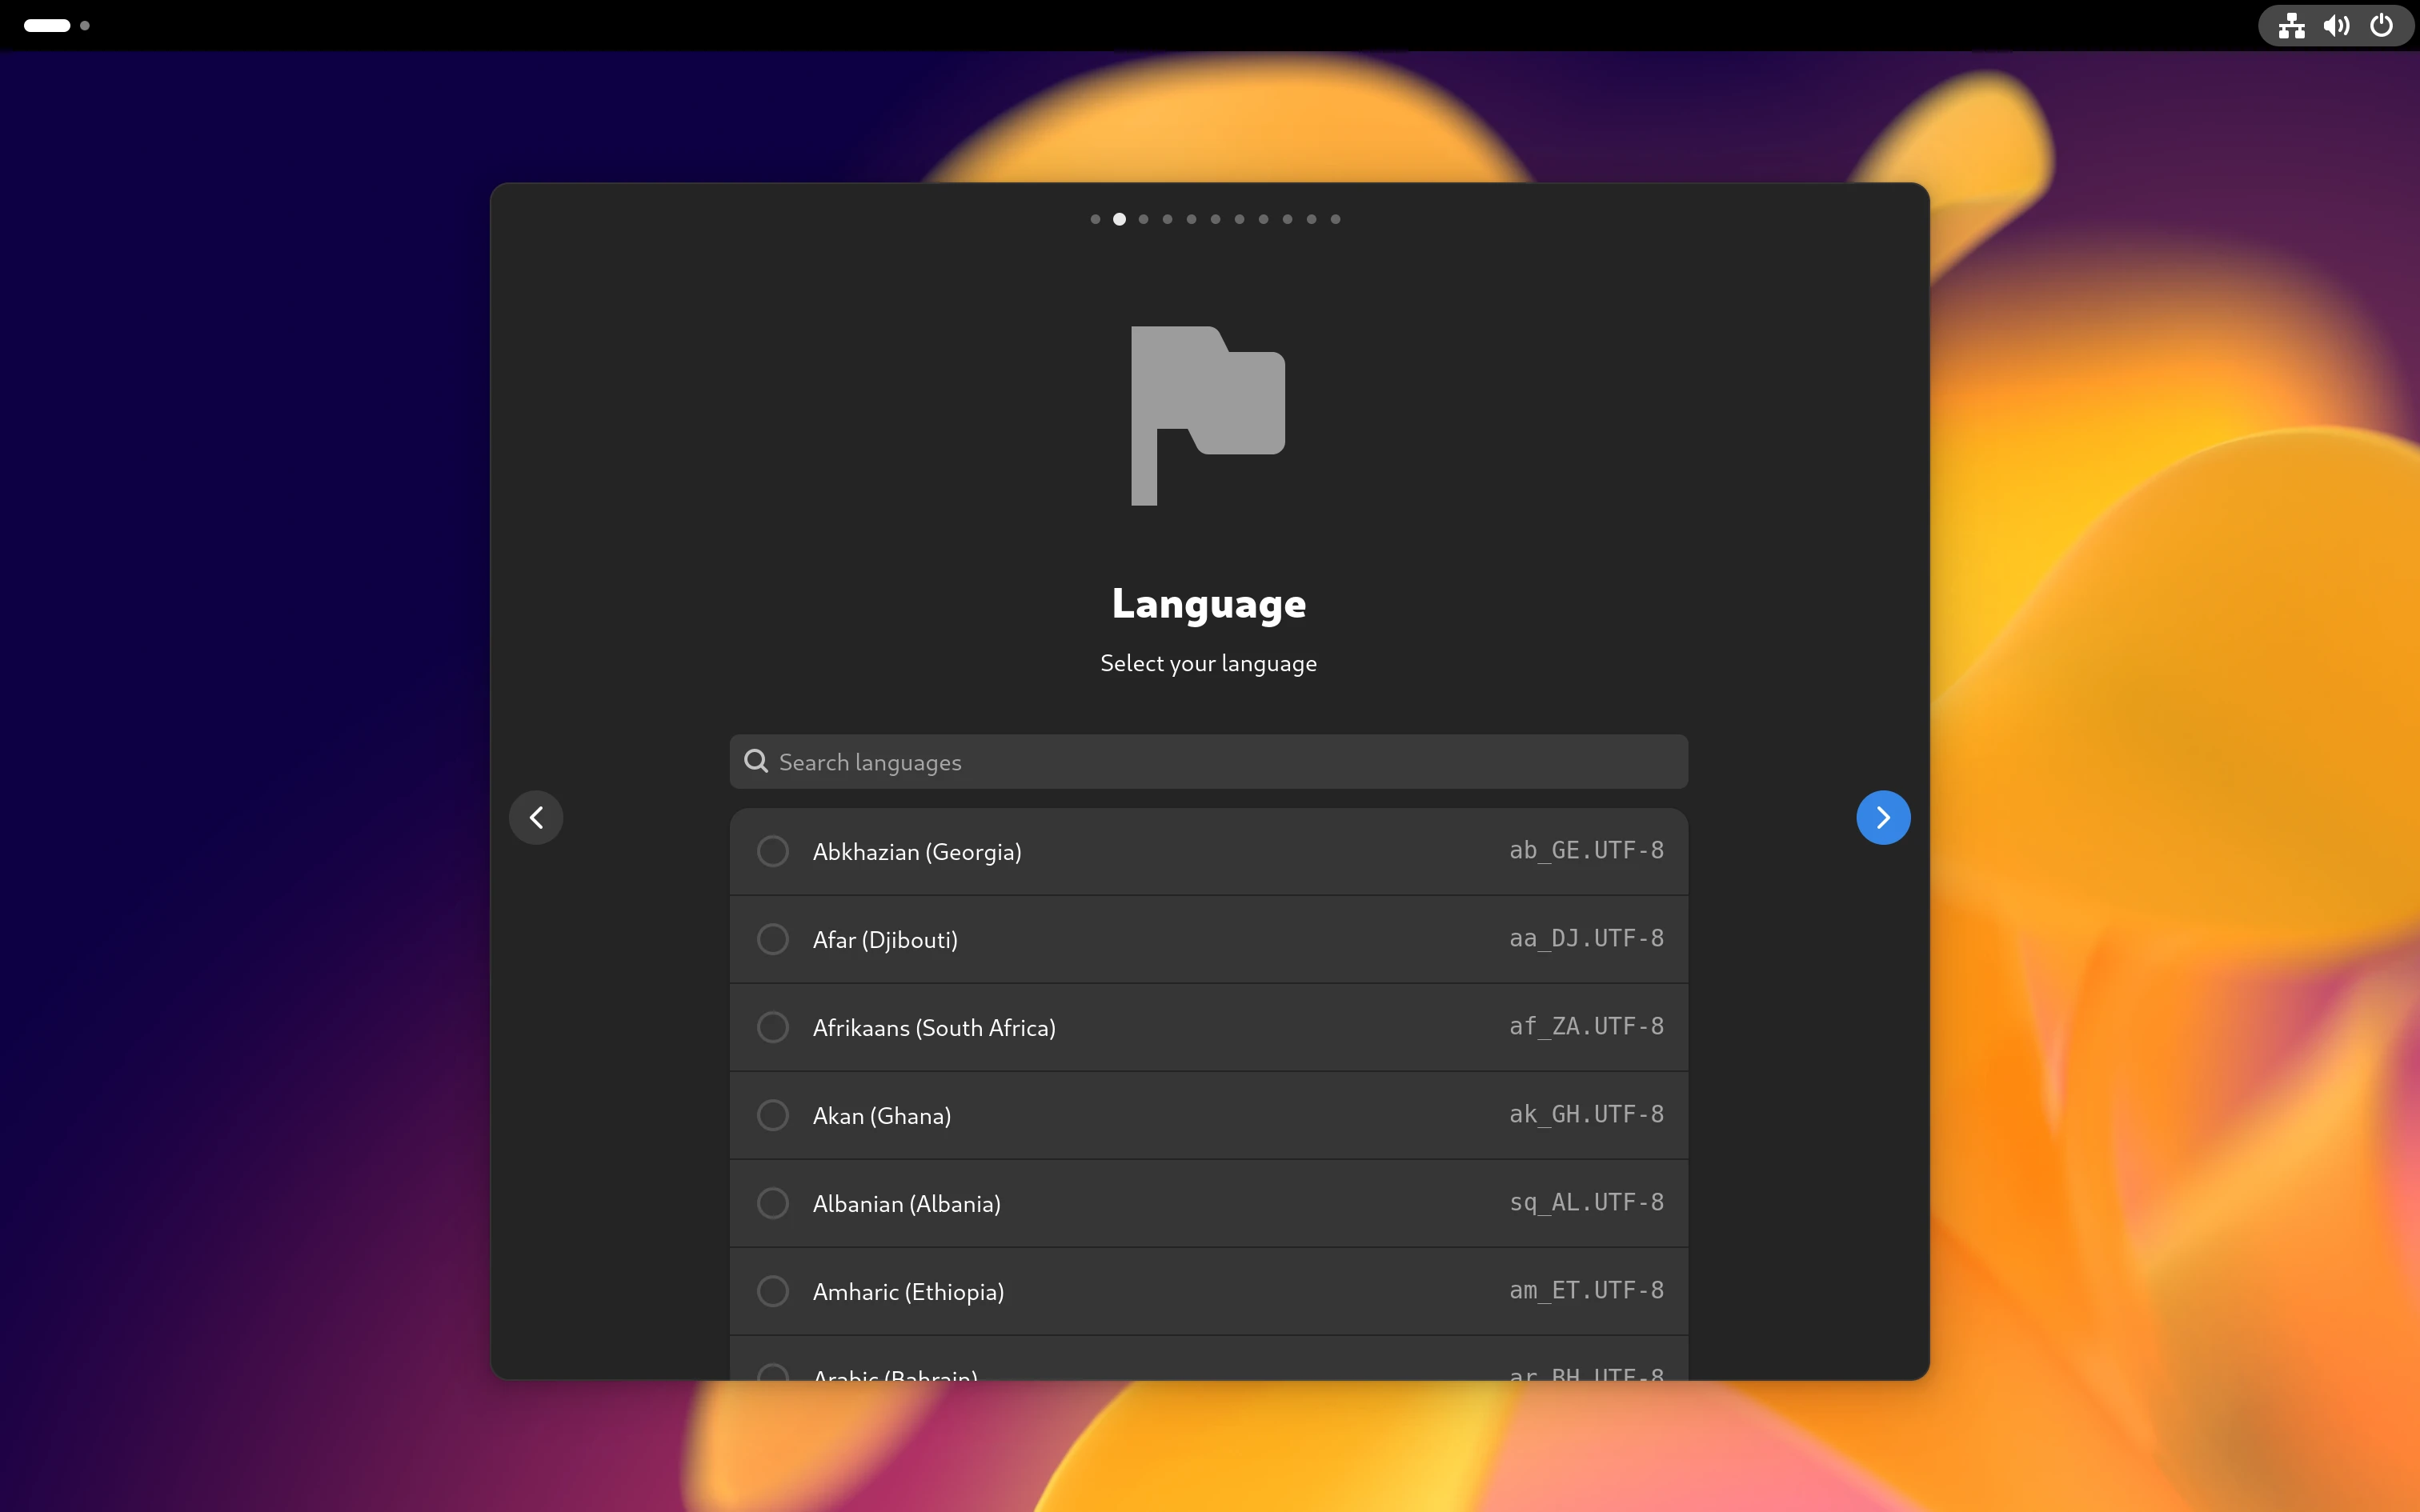 Language Page
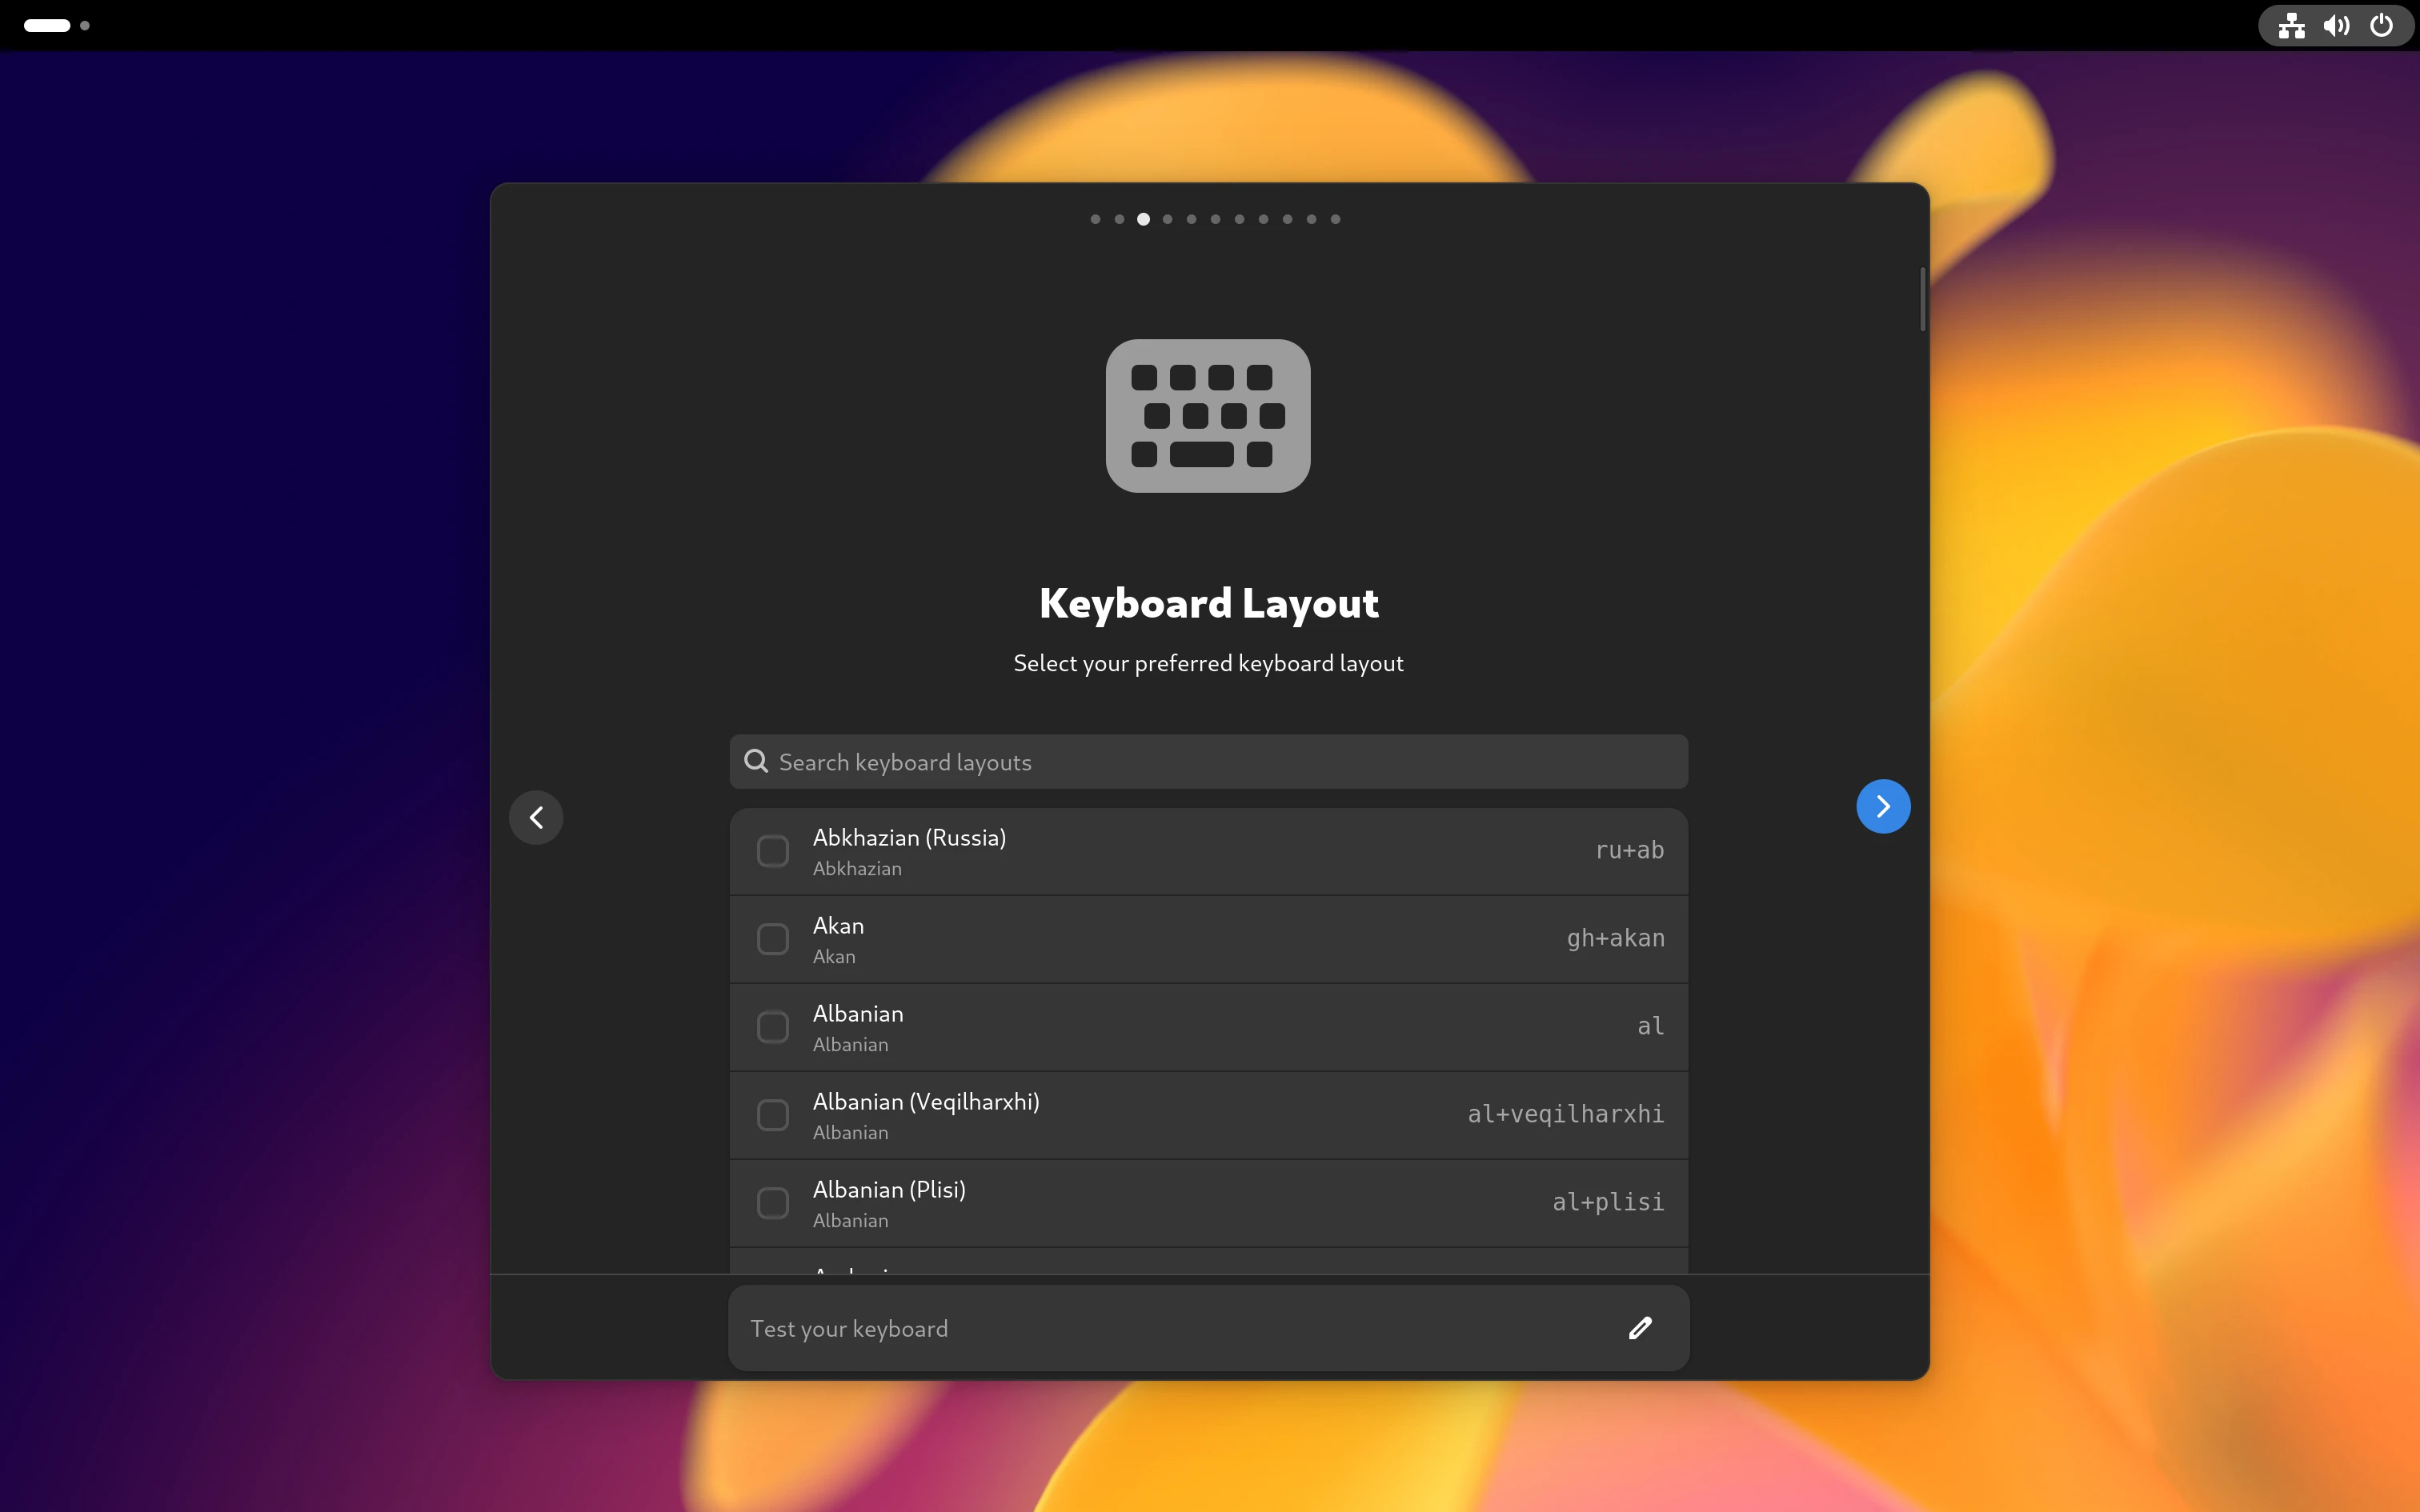 Keyboard Page
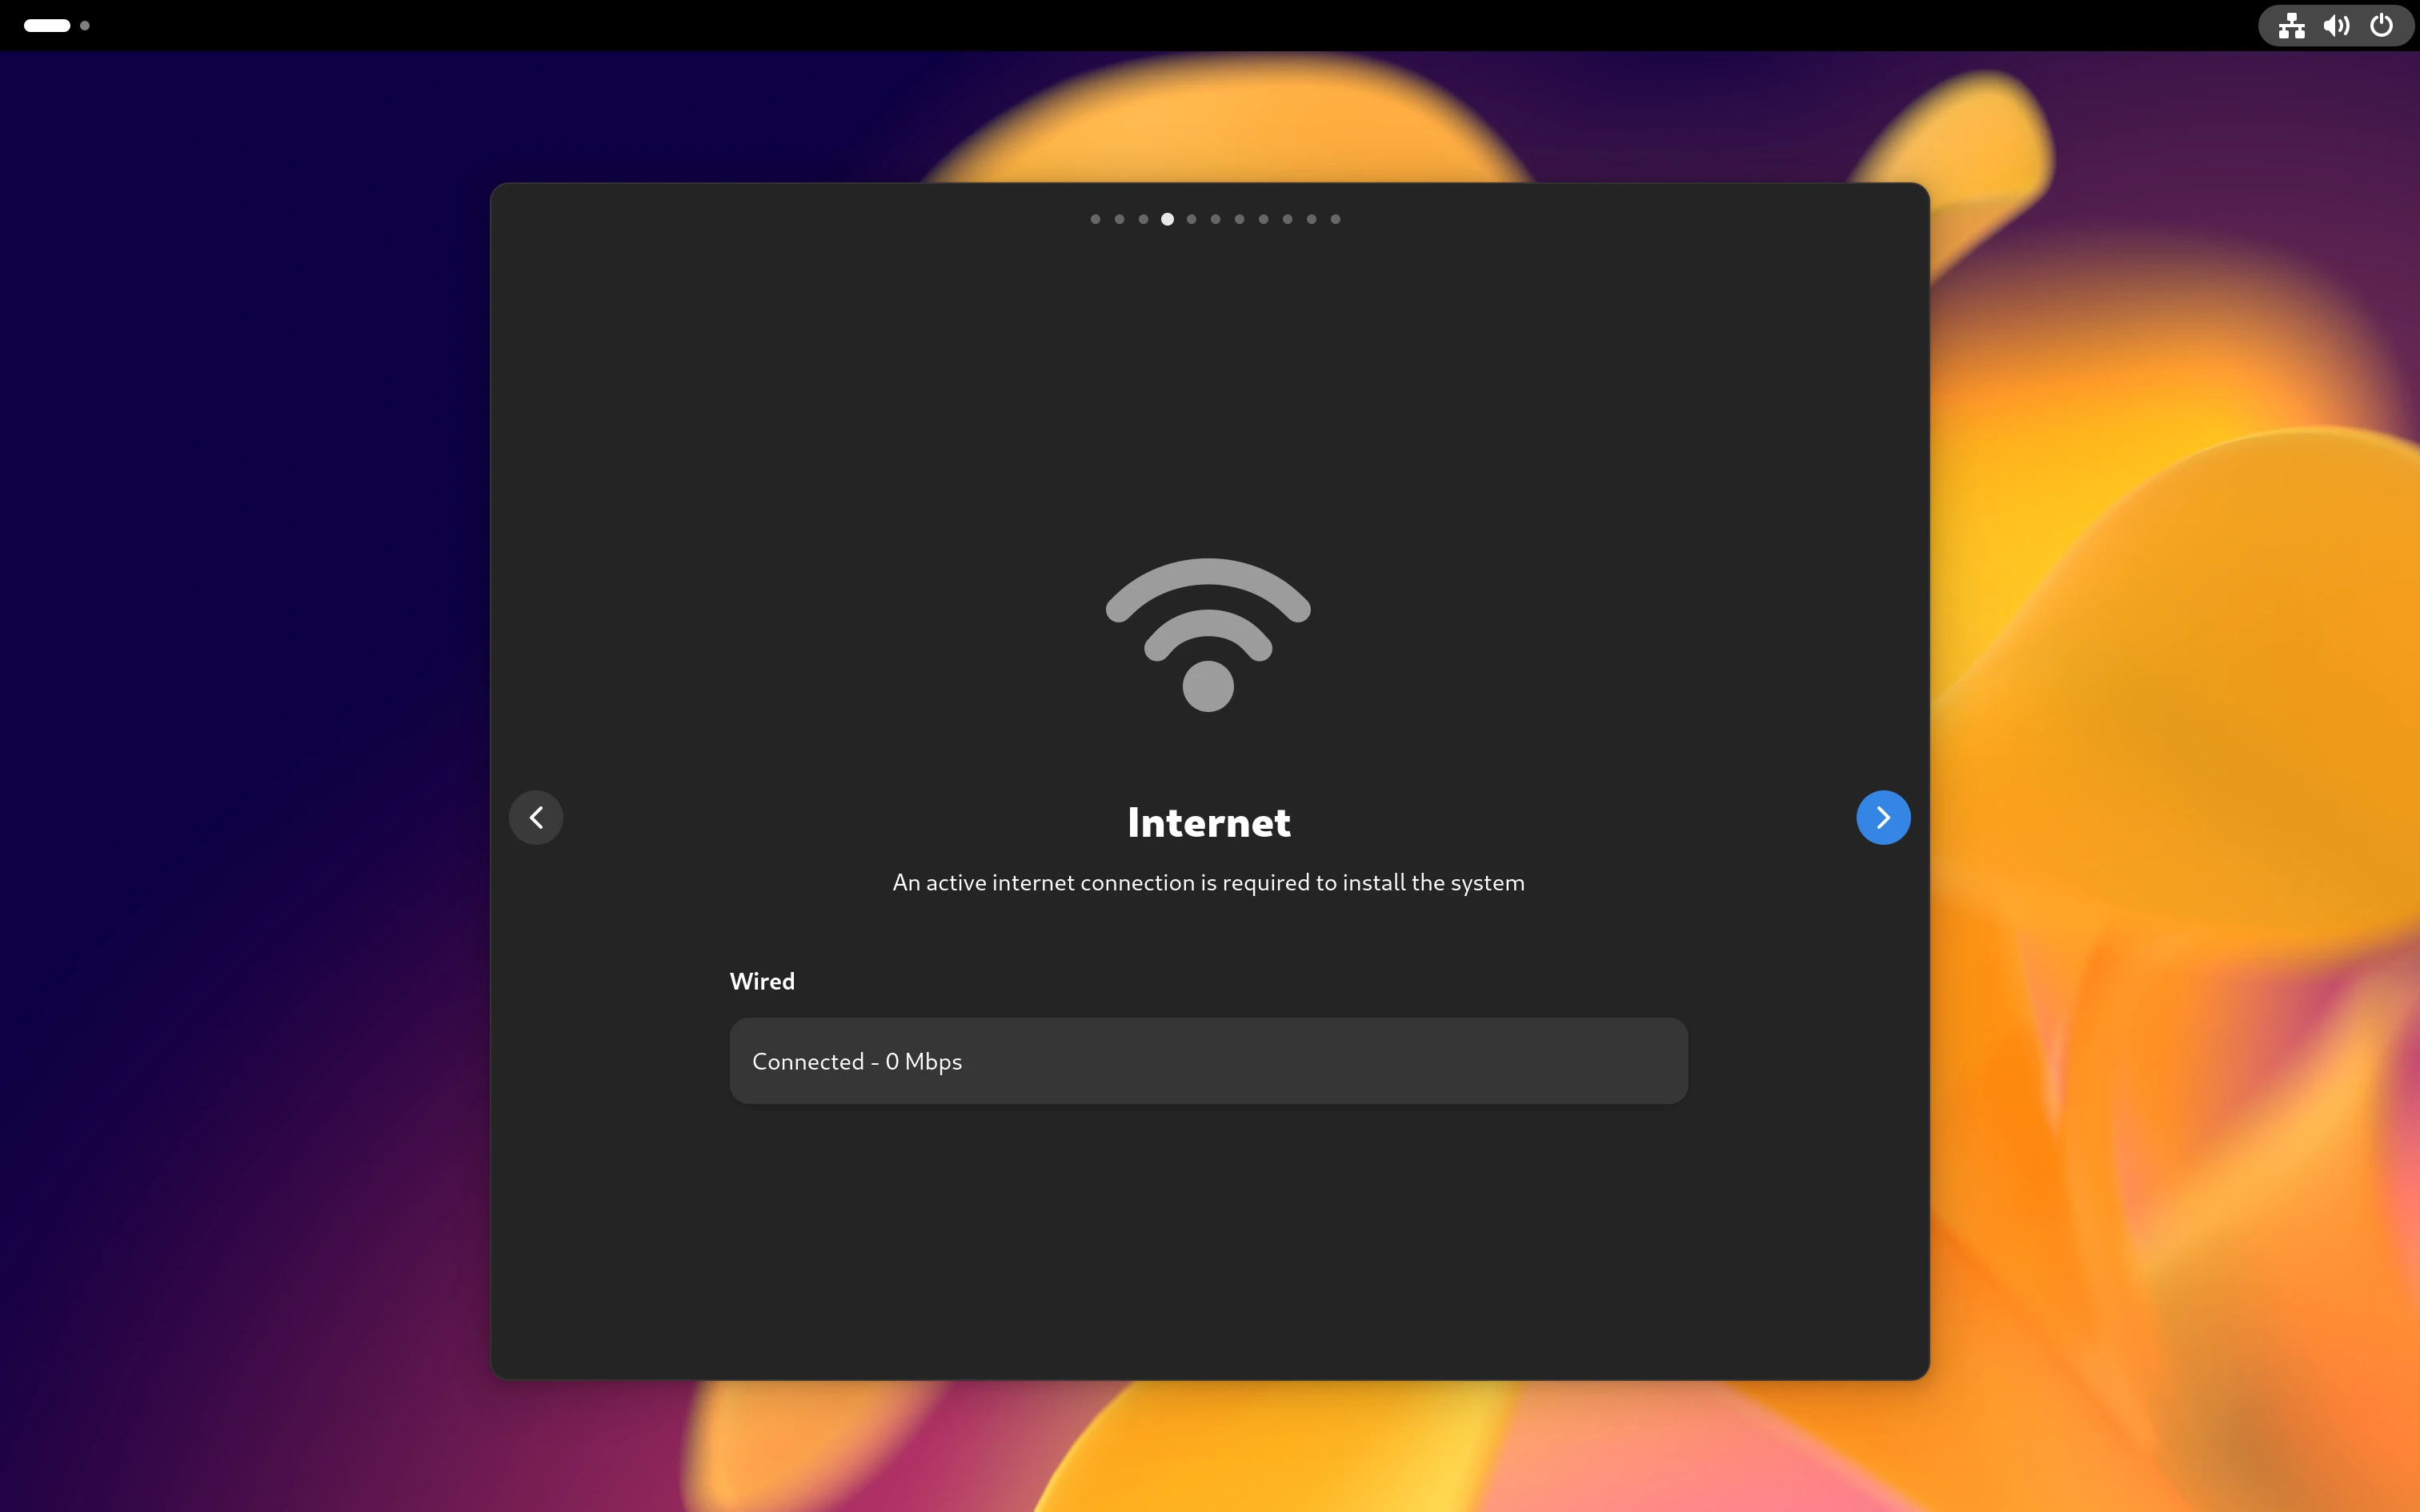 Network Page
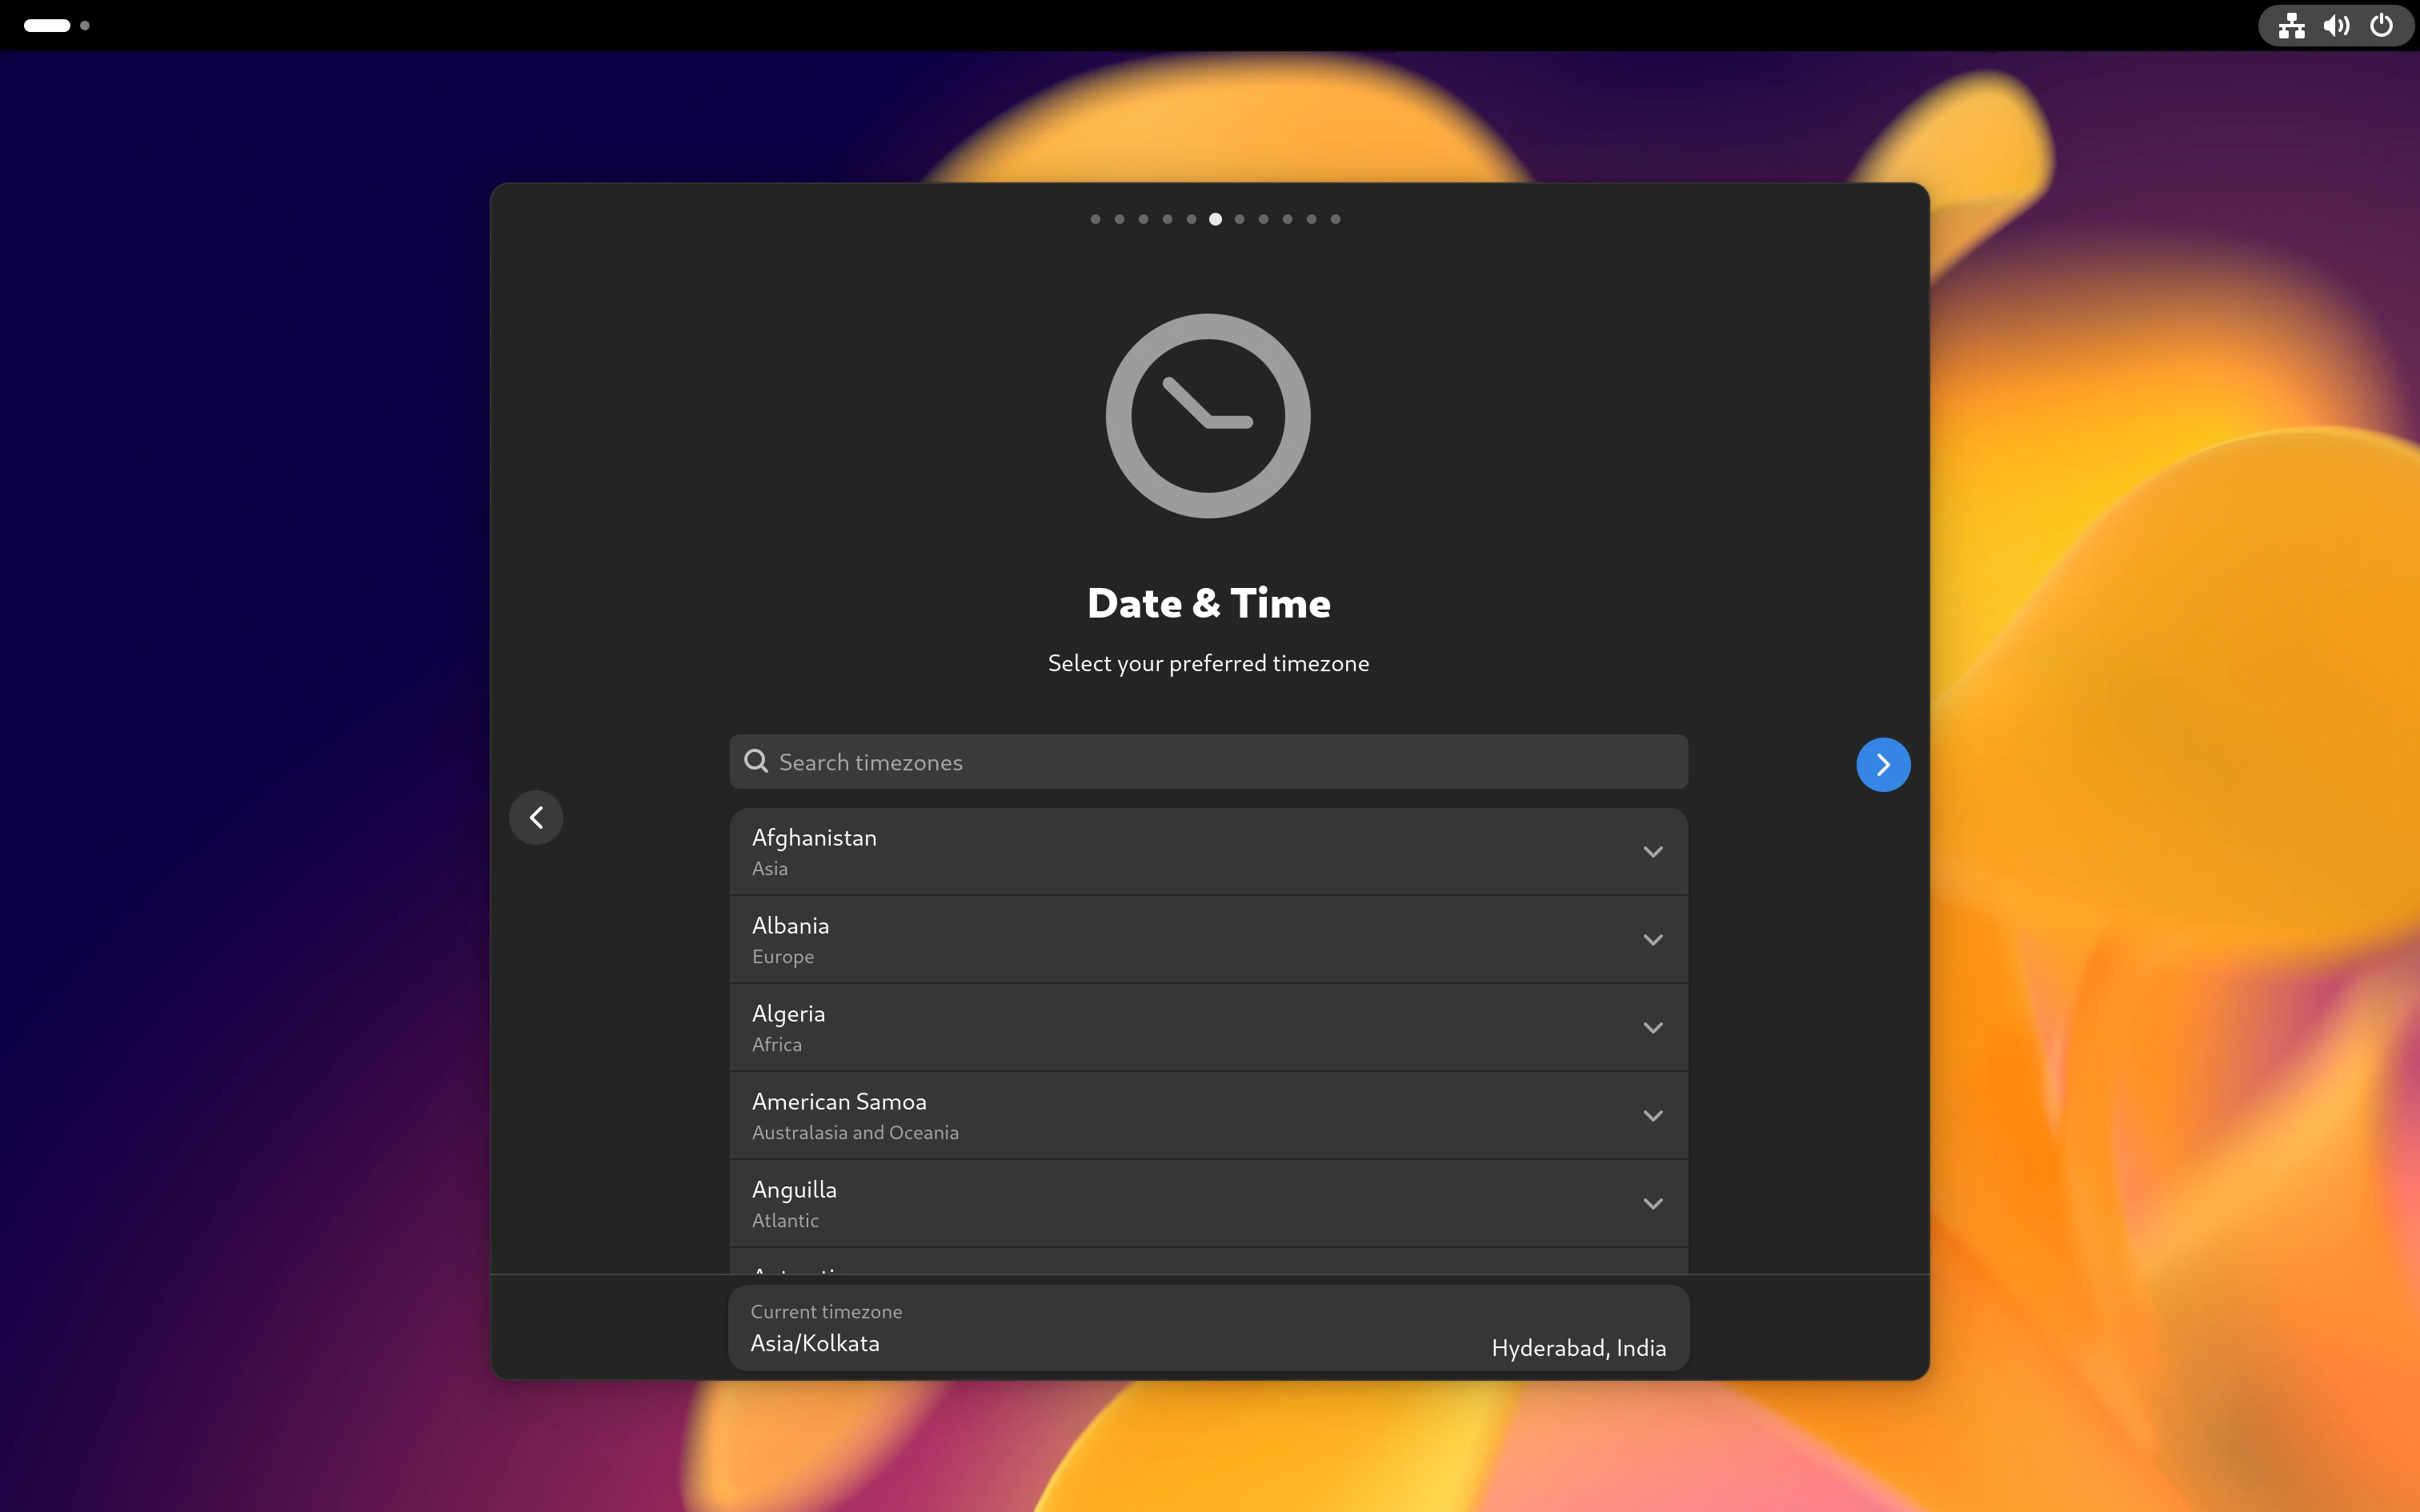 Timezone Page
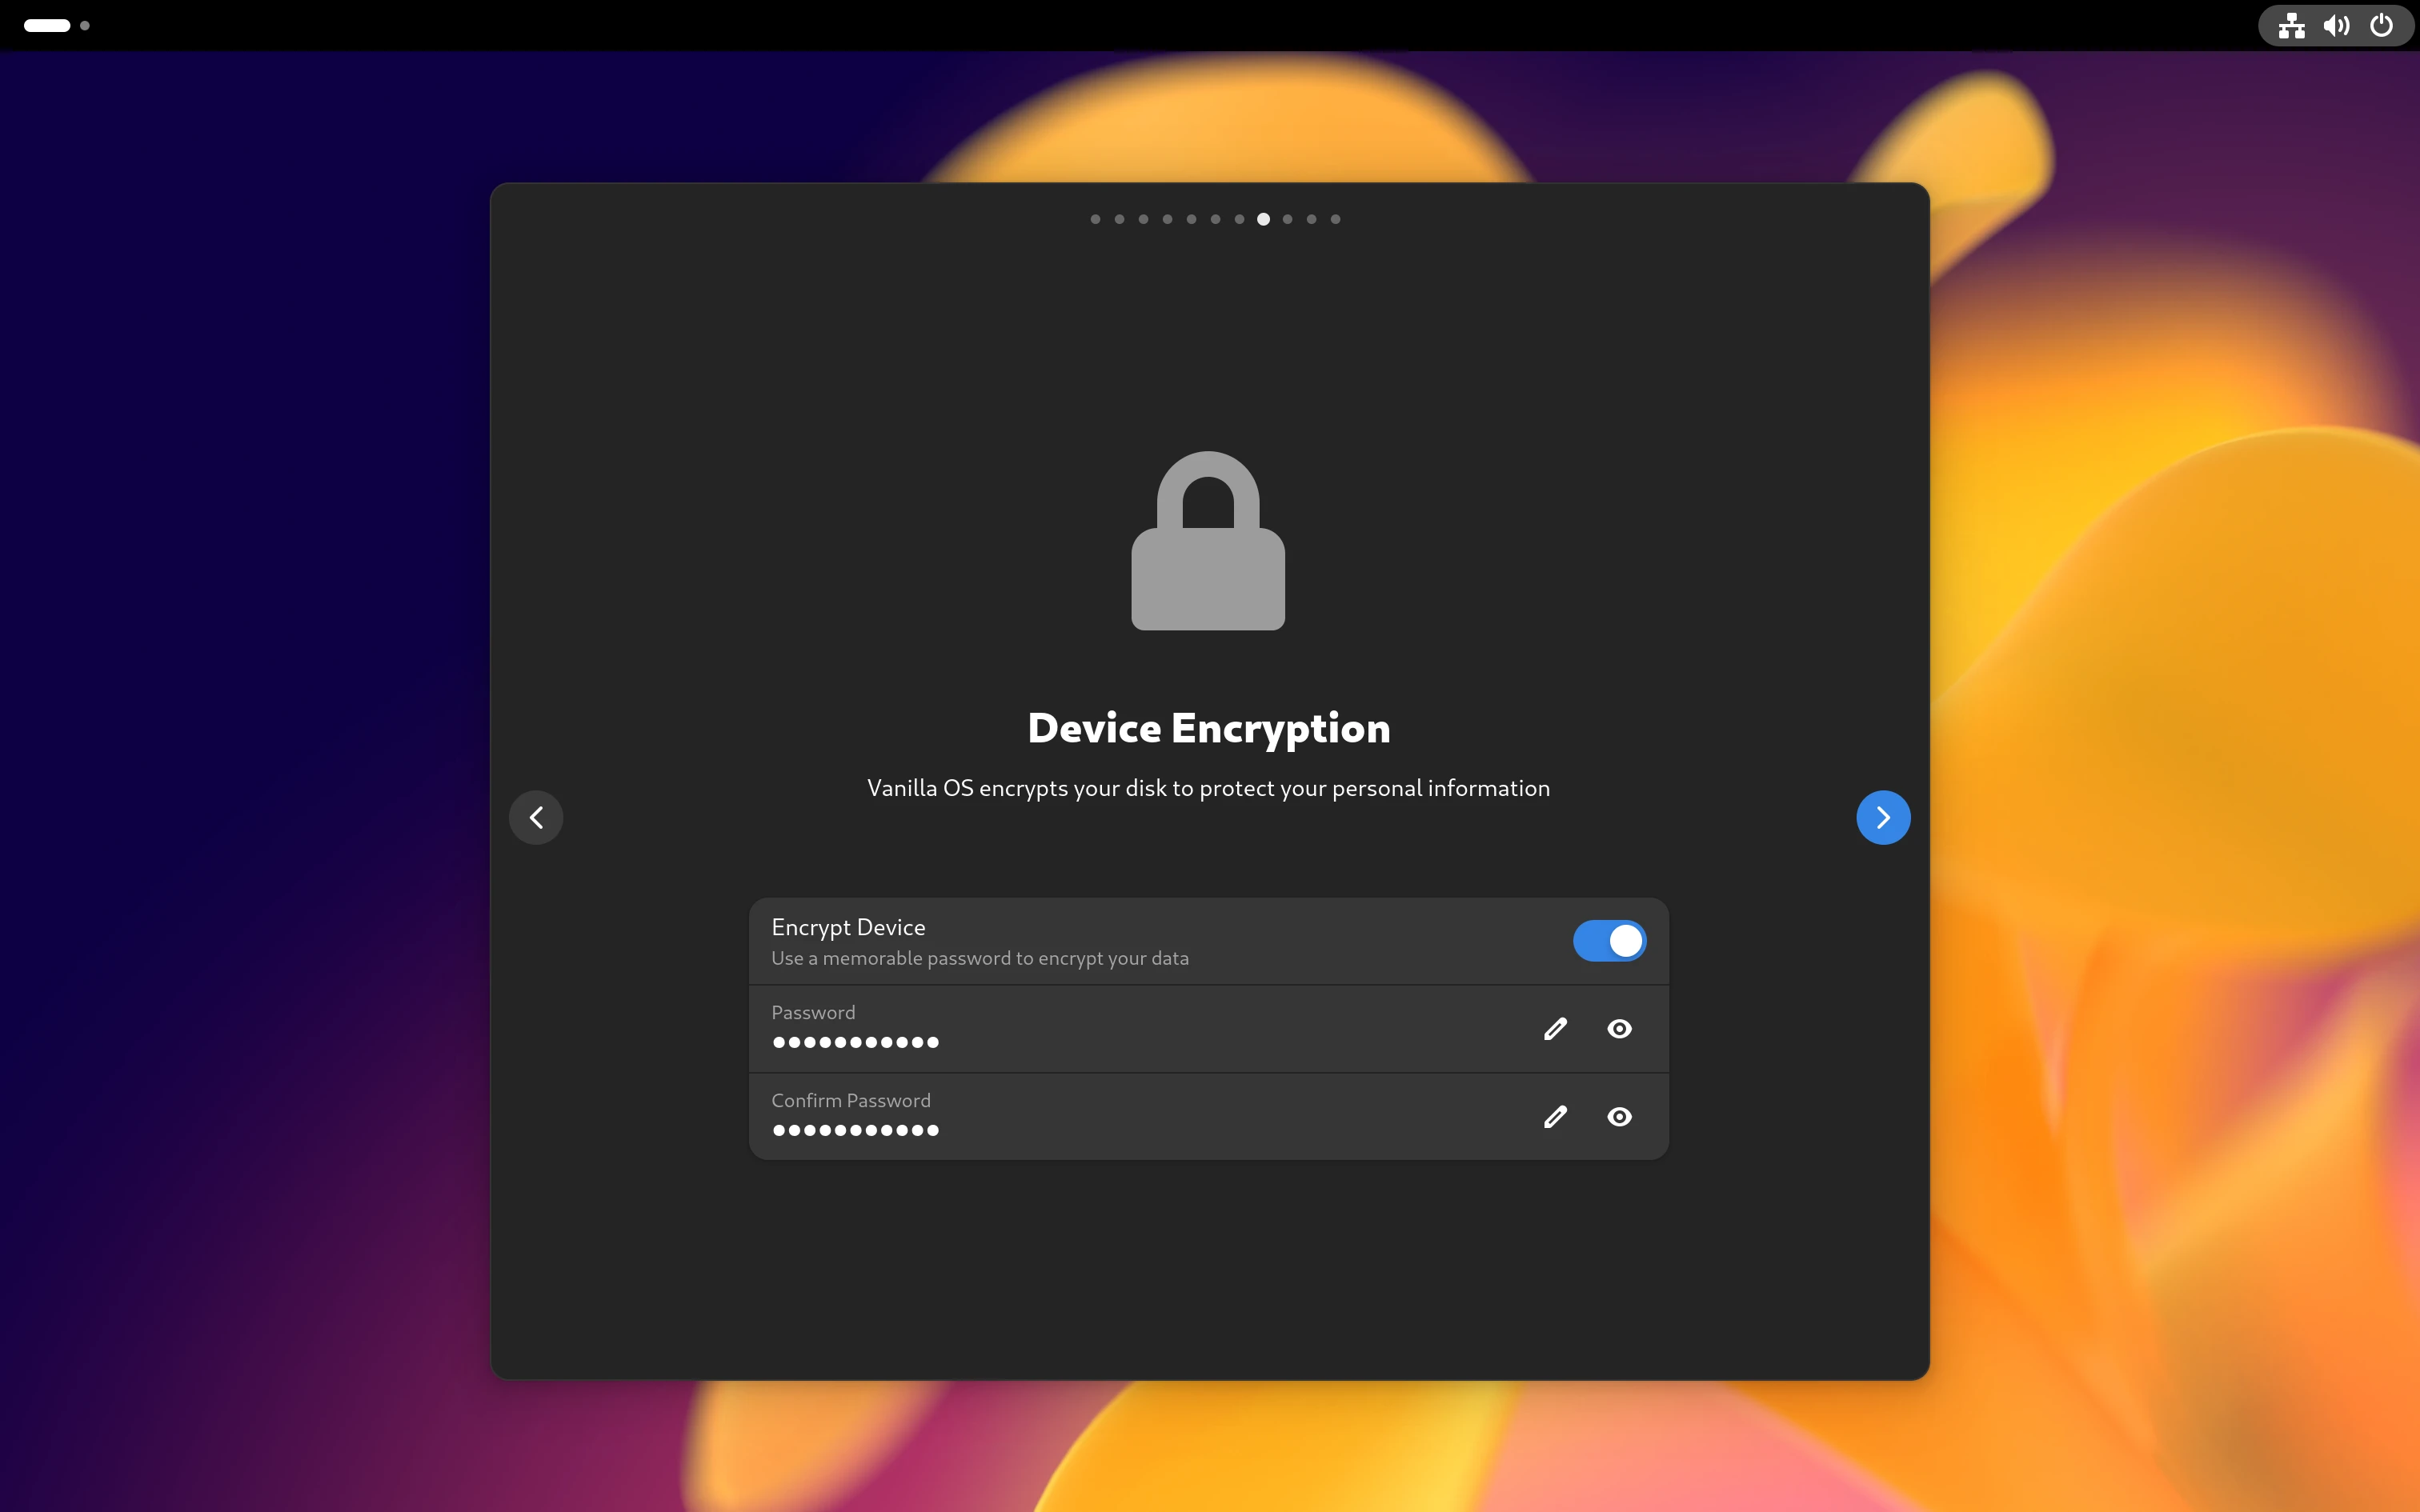 Encryption Page